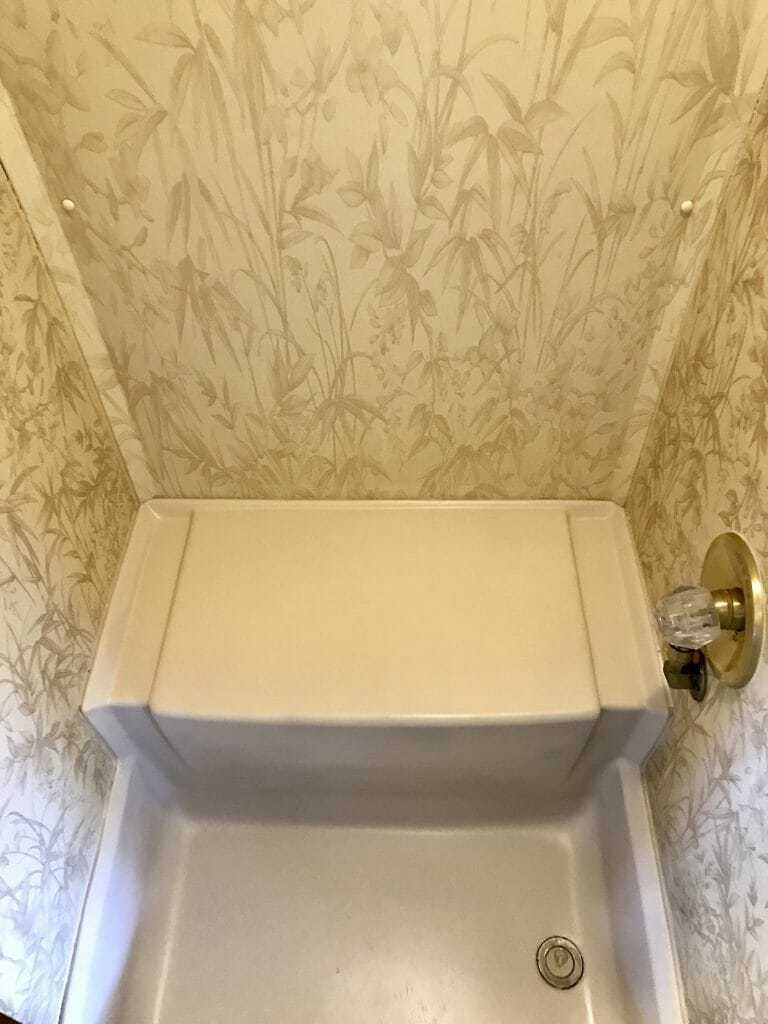
The finished product
Nothing in an RV can gross you out faster than a gnarly shower. Soap scum, hard water, and other nastiness will muck up your shower tub badly over the years, creating an eyesore in your otherwise beautiful RV. We RV’ers have it especially bad because we’re constantly moving from place to place and tapping into water lines of varying quality.
I know first hand how frustrating a mucky RV shower can be because I experienced it in my ‘88 Airstream. My wife and I meticulously restored our rig only to have our shower tub stick out like a sore thumb.
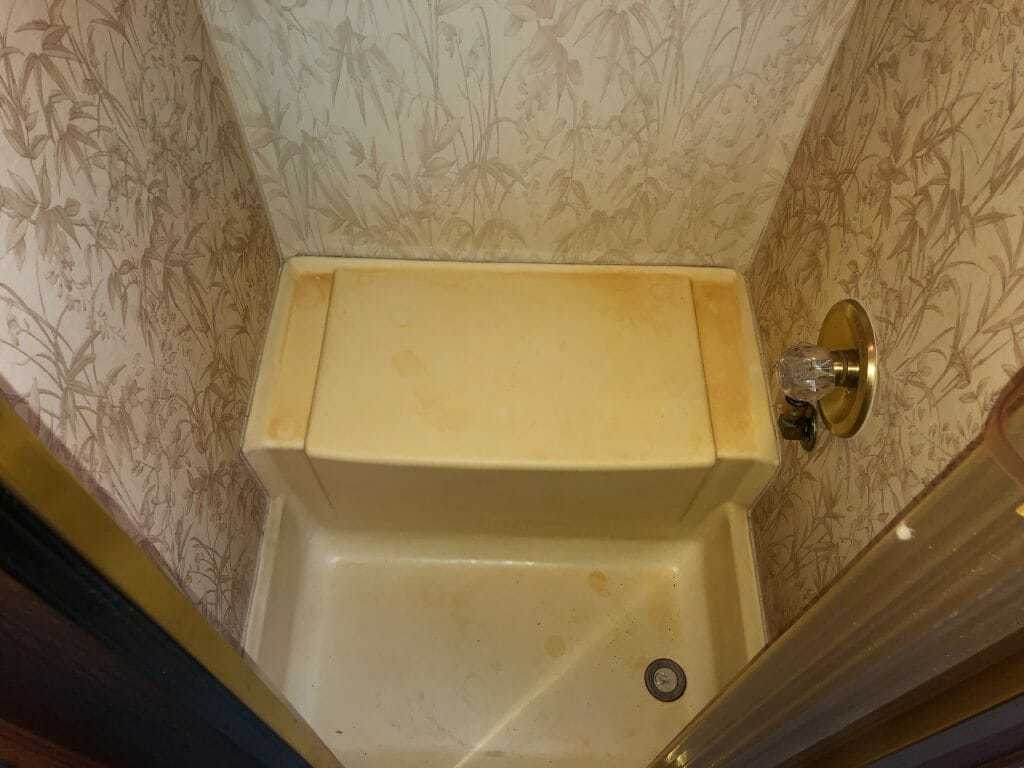
The ‘Before’. Just look at the nastiness! This has gotta go…
Fortunately, we discovered a DIY process that got our old RV shower looking like new in about a day. The whole project cost us only a few bucks and some elbow grease.
Below, I’ll walk you through the exact steps we took to resurrect our old RV shower:
First, assess the damage…
Your old RV shower should only have cosmetic damage. Over time, soap scum and hard water will turn it from white to a nasty yellow. Inspect your shower to be sure this is all that’s happening – be on the lookout for signs of cracking and leaks. If you’ve got more than superficial damage check out this article for a way to DIY a cracked shower tub.
Once you’ve assessed the tub itself, you’ll then want to look over the caulk that is generally in the corners of your shower. Caulk is used to waterproof the seams in your RV shower, but over time it gets nasty and wears out. As part of this project, we’ll either peel it out and replace or simply caulk over it with new.
See those cracking seams at the top? We’re going to want to put fresh caulk on those so they look better and don’t leak!
Then, pick a color and style that you like.
Should you keep your RV shower the same basic color? Or maybe it’s time for something new? There are so many color options out there nowadays that can make your old RV shower look new and hip. The good news is, you won’t need a special type of paint for this job – regular ‘ol spray paint will do the trick. Just be sure to get the 2-in-1 variety that has the primer included. Here’s what we used for our shower:
No products found.
Lastly, you’ll want to get a bottle of caulk and a caulk gun to fill in those seams. I found this colored caulk at Lumber Liquidators – it matched my spray paint quite well. Just be sure the caulk you buy is waterproof and paintable! If it is, it’ll say so on the bottle.
No products found.
This caulk worked very well for us. They offer several different colors so you can match the caulk to your shower.
Now that you’ve assessed the situation, follow these steps to make your old RV shower look like new:
Get your shower as clean as a whistle – You don’t want to be painting over old dirt, so it’s vital that you scrub your old RV shower to get it clean. I put some elbow grease into this and scrubbed the heck out of my shower with a few rags and some cleaning agent. I finished the job with one of my favorite tools – Mr. Clean’s Magic Eraser.
Sand your shower tub – Do not use an electric sander. You only need a sanding block. Use the sanding block to create a slightly rough surface to help the spray paint cling to your RV shower. Go over it 1-2 times with a very light sanding and you’ll have your tub right where you want it.
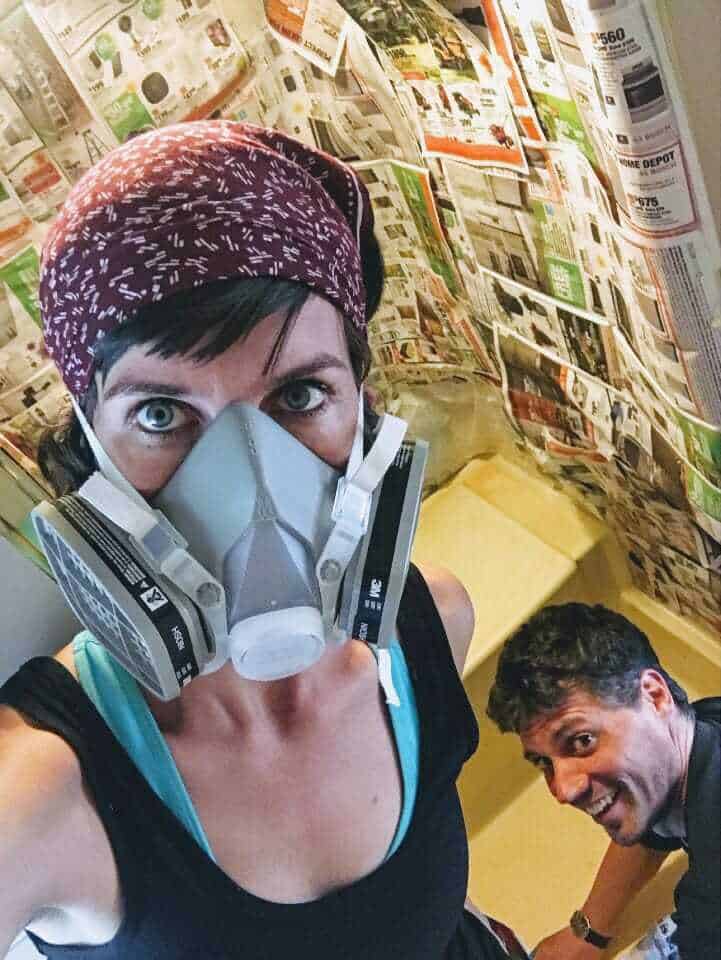
Find some old newspaper and use it to tape off areas you don’t want painted – Our Airstream has a tub with waterproof wallpaper above it. We liked the wall paper and didn’t want it painted, so we taped newspaper over it. Some RV’s feature plastic/fiberglass walls instead. If this is you, you’ll want to paint those walls too, so simply put newspaper on the outside areas that you don’t want painted. We used masking tape to hold the newspaper on – you can also use blue painters tape. Note: Don’t forget to tape off your drain area so you don’t get paint on it. I almost forgot this and nearly wound up in the doghouse…
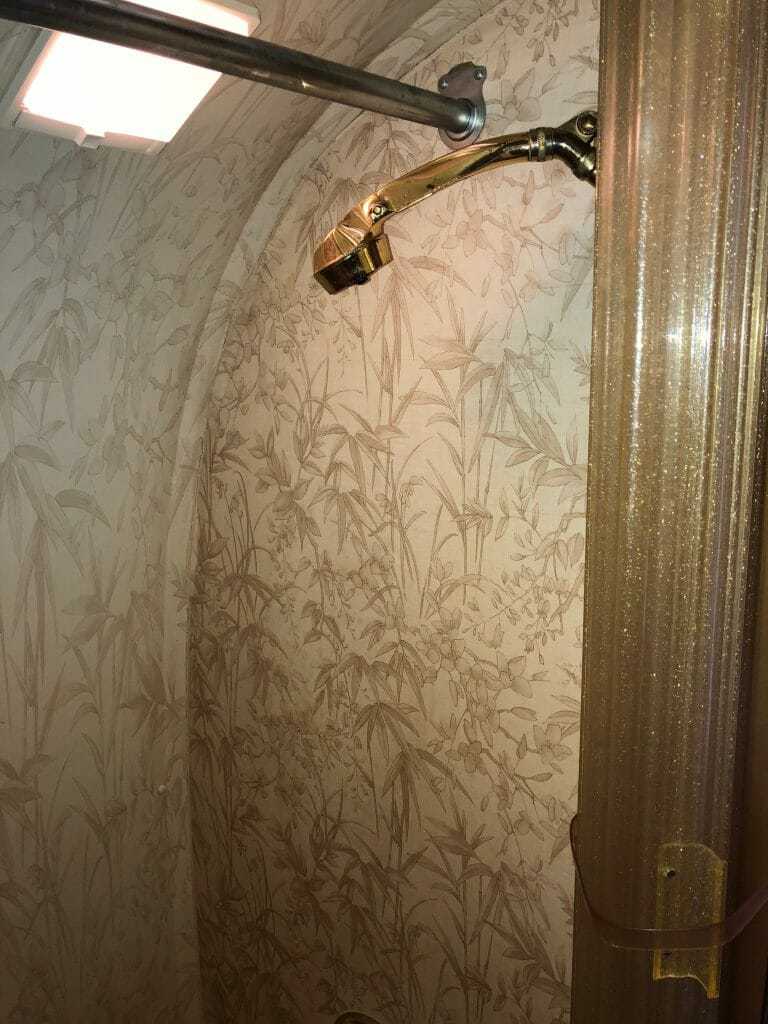
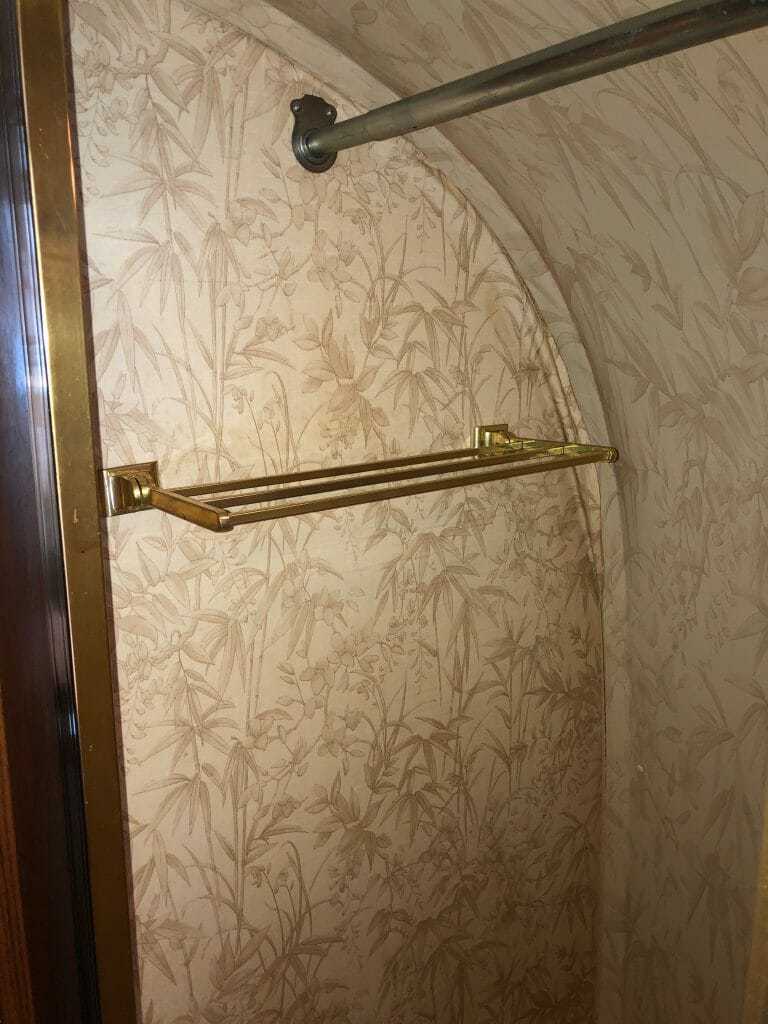
We love the look of that palm tree waterproof wallpaper, so we put newspaper over it to protect it from getting spray painted.
Extinguish all propane appliances, open all windows, and get a respirator for the fumes – Spray paint is flammable, so be sure to shut off your stove+oven pilot lights, water heater, furnace, refrigerator, and anything else that burns propane. Open all your windows too because spray paint fumes build up especially fast in an RV. Lastly, be sure you get a respirator like this to save your lungs.
My wife and I getting ready to spray paint after we’d extinguished all flames and opened all our windows. I didn’t have a respirator so I stepped outside while she painted. Note how we taped that newspaper right up to the edge of the tub so we didn’t get paint anywhere we didn’t want it.
Spray paint your shower tub evenly and generously – Spray paint is fairly forgiving but you still want to take care to not overspray. Spray with smooth and even strokes as you go over the tub. Let the paint dry for at least 2 hours between coats. Generally, two coats of paint will do it. Feel free to do a third coat if you feel your tub needs it. Once done, allow your shower to dry and vapor to clear for at least 24 hours before using it.
Clean up and touch up – In our case, the paint went on mostly flawlessly, but we had one small part that didn’t go on smoothly. We simply sanded it back down and lightly sprayed that area again. You may also want to go back over the whole tub very lightly with your sanding block to smooth any rough edges.
Re-caulk the seams – Remember the caulk you picked out to match your new shower color? Now’s the time to use it. In most cases, you can just put new caulk over your old caulk. However, if your old seams are especially nasty, you may have to peel some of the old caulk out with a flat head screwdriver. This video below will show you how to caulk. Be sure to caulk sparingly and only squeeze out a small bead until you get the hang of it. You will also want a damp rag in your back pocket to clean up any excess caulk.
Gnarly showers may be an inevitable part of RV life, but that doesn’t mean you’re in for a costly repair. The simple steps I shared above will help you make your old RV shower look like new. You can also check out this article for tips on keeping it that way. Even if your RV shower gets gnarly again you can simply rinse and repeat the process above!
Finished product, looking good as new! We just caulked right over the old caulk with a color that matched the spray paint. This created a seamless look between the tub and the walls.

Jill Miller is the founder of Your RV Lifestyle. Trading corporate America for the open road, Jill, along with her partner Jose, began their RV journey, making an unconventional start by wintering in New Jersey. A natural adventurer, she was motivated by a desire to explore the USA and beyond, embracing the varied landscapes, communities, and cultures across the country.
For Jill, the allure of RV living was not about material accumulation, but rather the pursuit of an adventurous, fulfilling lifestyle. A lover of golf, bicycling, hiking, and line dancing, she has carried her passions across the country, engaging with them in diverse settings. Jill’s commitment to the RV lifestyle came after years of careful research, numerous consultations with RV owners, and personal trials, including living in a rental RV.
