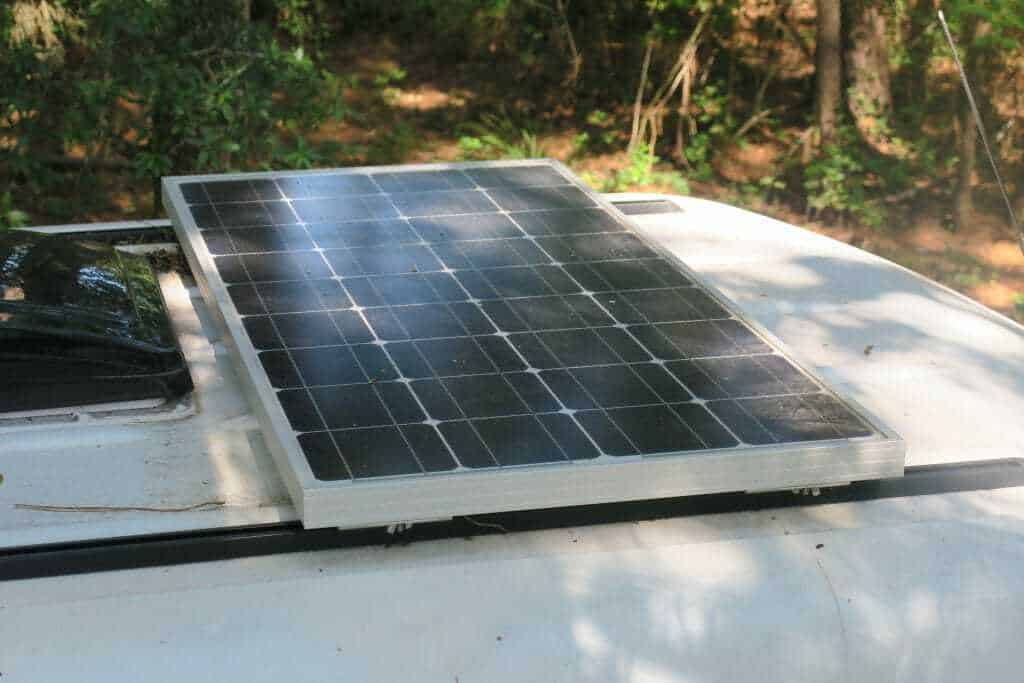
Installing solar panels on your RV is a great way to save money and use clean energy.
If you’re looking to save money, reduce your carbon footprint, and expand the possibilities of where you can take your RV, then a solar panel might be a great option for you. However, choosing the best solar panel and installing it might sound like a daunting task for someone who has no experience working with electrical components.
Luckily, it’s not that hard to figure out. In this guide, I’ll walk you through the basic components you need to create a functioning solar panel system. I’ll also show you five of the most popular varieties of panels, including:
- Monocrystalline panels
- Polycrystalline panels
- Flat panels
- Flexible panels
- Portable panels
You’ll learn the pros and cons of each, as well as my top product recommendation in each category. Before you know it, you’ll be generating your own clean, noiseless, and free power with a little help from the sun.
Why Install Solar Panels on Your RV
Walk around any campground and you’ll see plenty of RVs outfitted with propane tanks or generators. Your own RV might currently rely on one of those options to power your lights and appliances. While these are perfectly reasonable ways to generate power, solar panels have several advantages that tanks or generators simply don’t.
It saves you money
Aside from the upfront cost of buying and installing the solar panels and associated equipment, solar panels require little to no additional cost to operate. Once they’re up and running, they continue generating power free of charge.
With a solar panel, you no longer have to buy gas for your generator, and if you upgrade to an electric stove or tankless water heater, you don’t have to shell out cash to fill up your propane tank.
Check out this article for a few more tips on how to save money by saving energy.
It’s more eco-friendly
Generators and tanks run on fossil fuels, while solar is a renewable resource. The electricity it generates is clean and doesn’t release any fumes into the atmosphere. It’s one way to make your RV that much more eco-friendly.
However, the process of creating solar panels does create waste. As we’ll discuss in a minute, some types of solar panels are more eco-friendly than others thanks to how they’re made.
It allows you to go off grid
If you want to be able to go to more remote locations or boondock on public land, a solar-powered electrical system will give you all the comforts of having shore power with none of the restrictions. You’ll be able to go further for longer before you need to return to civilization to resupply.
It’s safer
If not installed properly, gas tanks can leak and cause explosions. Gas for generators is also a highly flammable substance and requires extra care when handling.
Solar panels, on the other hand, are usually installed on the roof of your RV, out of the way of you and your family. While electrical components have their own safety considerations during the installation process, overall, it’s a less volatile system for day-to-day use.
It’s noiseless
Traveling in your RV is a great way to get out of the city and reconnect with nature. However, generators are usually noisy and can disrupt an otherwise quiet and relaxing campground.
With solar panels, your rig will be generating power without creating a bunch of unpleasant noise. The system is so quiet that you might even forget that it’s there.
An Overview of a Solar-Powered Electrical System
Unlike tanks or generators, which are fairly all-inclusive, solar panels need a few more components working together as a system before you can start using the electricity that they generate.
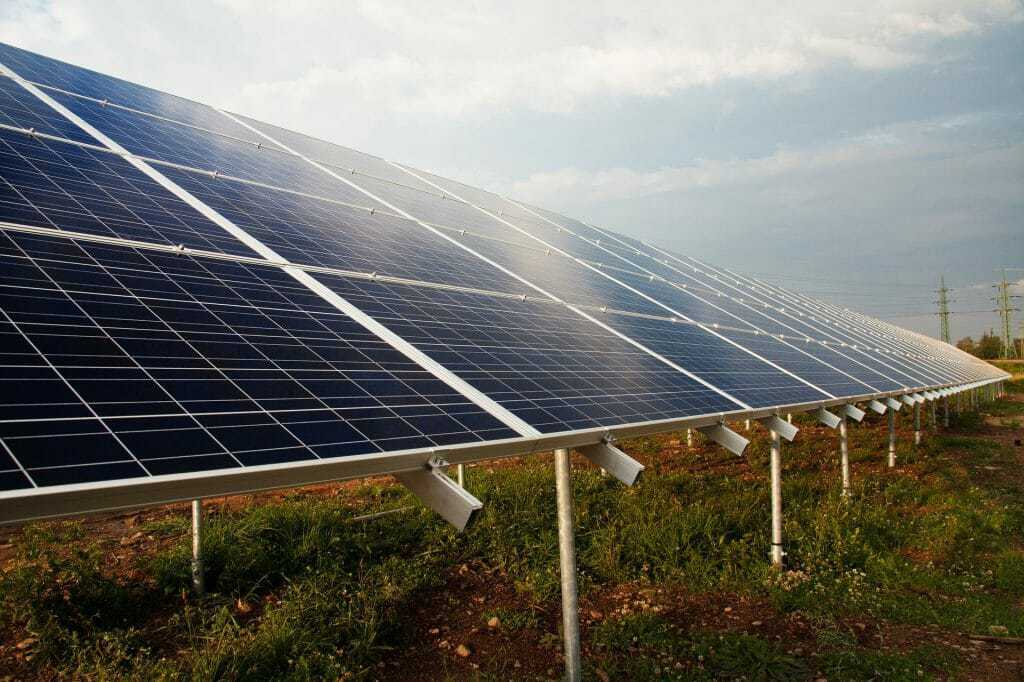
Solar Panels
This is the part of your system that will take energy from the sun and turn it into electricity. They come in a few different varieties, as we’ll discuss later in this article.
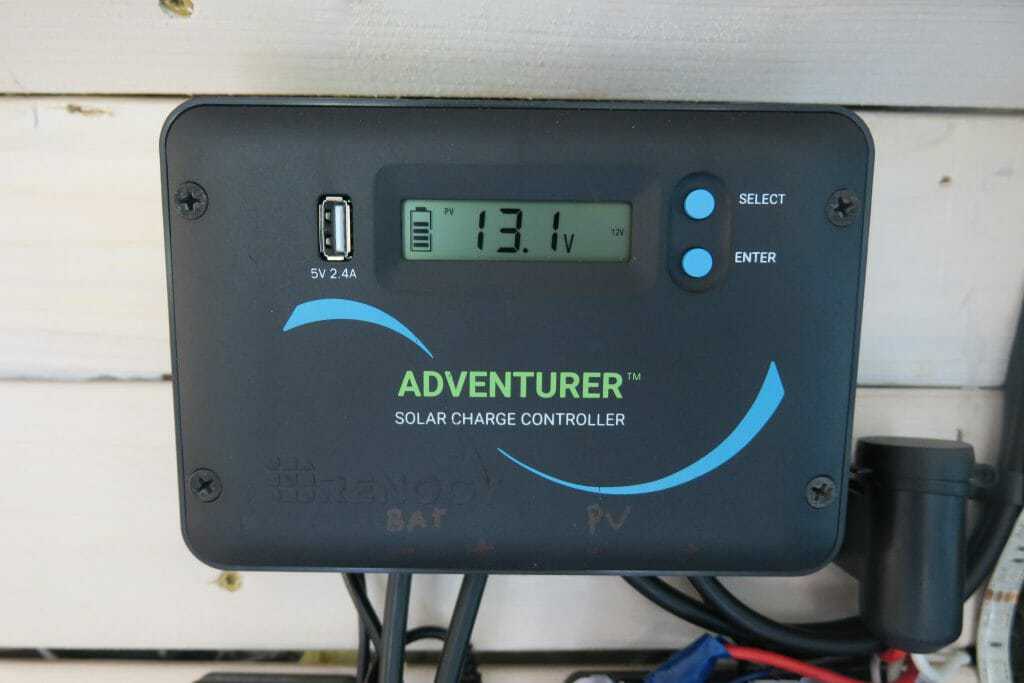
Charge Controller
A charge controller keeps your battery from overcharging. It regulates how much of the current from your solar panels is actually going into the battery.
A charge controller takes the energy created by the solar panels and runs it to the battery.
It usually comes with an LCD interface so you can see how your system is performing.
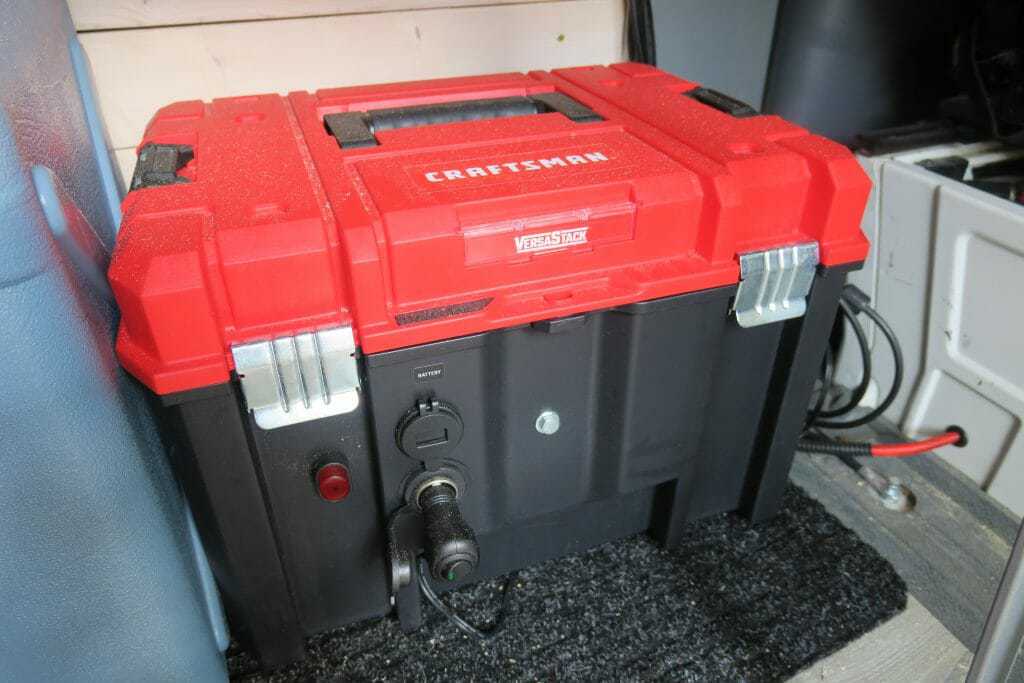
Battery
This is where you store all of the power generated by your solar panels. Lead-acid batteries are the most common type.
This deep-cycle lead-acid battery provides 105 amp hours.
You’ll specifically need a deep-cycle lead-acid battery, which will allow you to use more of the power without damaging the battery. They’re different from the starter battery in your car or RV’s engine, which are only meant to be used in short bursts.
Wiring, Fuses, and Mounting Brackets
You’ll need a few extra parts to connect your main components together. As you’ll see in a later section, many solar panel kits come with these parts, so you don’t need to worry much about what exactly you should have on hand.
Battery Monitor
A battery monitor is a small screen that will show you how much voltage is left in your batteries, which can save you money in the long run.
| Voltage | State of Charge |
| 12.6+ | 100% |
| 12.5 | 90% |
| 12.42 | 80% |
| 12.32 | 70% |
| 12.20 | 60% |
| 12.06 | 50% |
| 11.9 | 40% |
| 11.75 | 30% |
| 11.58 | 20% |
| 11.31 | 10% |
| 10.5 | 0% |
Your battery monitor will display a number similar to what’s in the left column. For example, if your battery monitor reads 12.42, that means you have about 80% of charge left in your battery.
While deep-cycle batteries can withstand having most of its power discharged, they perform better over time if they are not regularly discharged past 50% (or about 12.06 volts).
Inverter
Many appliances and devices need to be plugged into an outlet that supplies a 110V AC current. However, your battery has a 12V DC current. The inverter converts the DC current into an AC current.
This inverter makes it possible to use a 12V battery with electronics requiring AC current.
Note that installing an inverter is not a requirement to start using your solar set-up. There are plenty of accessories designed to run on a 12V DC current, such as this electric powered cooler from Dometic, or this clip fan.
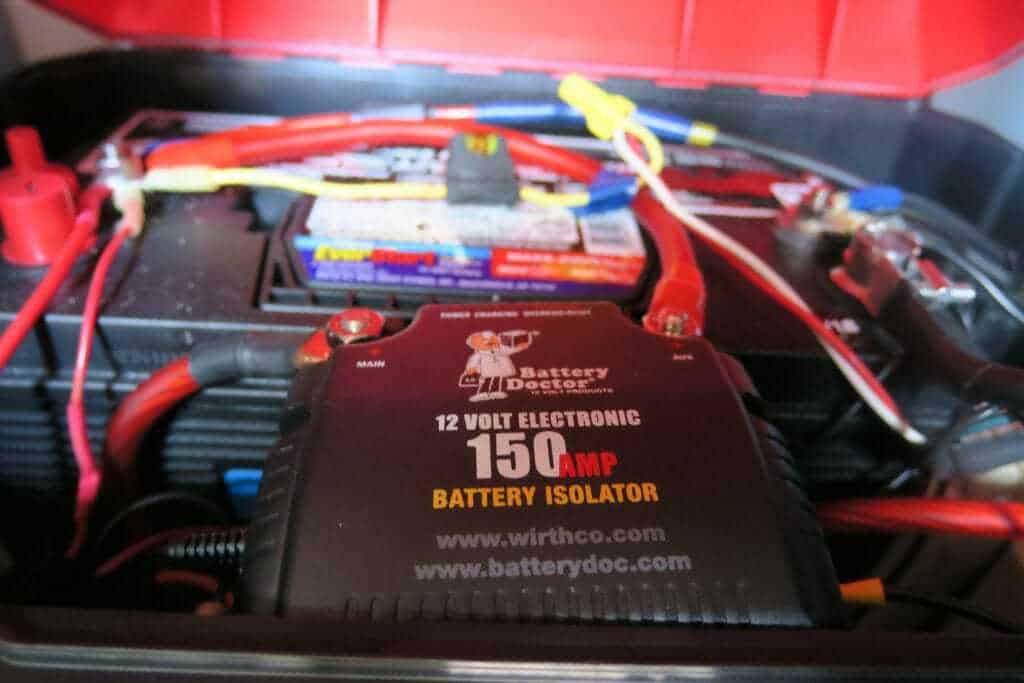
Battery Isolator
This handy device allows you to charge your battery using your vehicle’s alternator.
The is the battery isolator I use in my set-up, which allows me to charge the battery when my solar panel can’t keep up.
It’s a clever way to generate and store extra power while you’re driving or on cloudy days when your solar panels aren’t working at their best. I personally use this battery isolator from WirthCo.
Want to know even more about the parts you need to set up solar on your RV? This video gives a great overview of all the components and how you can install them:
[https://www.youtube.com/watch?v=KCQ0R85vKoM]
How Much Solar You Need
Knowing how much power you use in your RV on a daily basis is essential for determining how many solar panels to get, as well as what size or number of batteries you should have.
However, sitting down with a pen and paper to calculate it all out is a tedious process. As we’ve talked about in a previous article, deciding how many batteries you need and how many amp hours they should have is just as tricky. If you’re up for the challenge, this guide will give you a few tips and methods for calculating exactly what you need.
Personally, I can only suggest my own philosophy, which is:
Start Small
Get started with the absolute minimum. If you have a class B van, a teardrop camper, or other small RV, you may be able to get away with one 100 watt solar panel and one 100 amp-hour battery. I have a class B, so this is the set-up I use. It’s enough to power my interior LED lights, 12V fridge, 12V fan, and ceiling vent. I also use a small blender and charge my computer and phone. All in all, I might use around 30 amp hours per day.
The single solar panel can create a little over 30 amps on a sunny day, which is enough to keep my battery topped up. I also have a battery isolator to pick up any slack by charging the battery with the engine’s alternator.
This scenario isn’t going to be the same for everyone. If you’re in a larger rig, one 100 watt solar panel and one 100 amp-hour battery probably aren’t going to cut it. Chances are you have more lights, appliances, and electronics than me, which will all require more amp hours. My best advice is to consult the manufacturer of your RV to get the best estimate of what size battery bank you need.
Experiment
The best way to find out how much energy you use on average and therefore how many solar panels you need to replenish that energy is to take your RV out for a day or two. During that time, monitor how much charge is being drained from your battery.
The small battery monitor on the front of this battery reads 13.3V, which means it’s fully charged.
If you have a 100 amp-hour battery, and the battery monitor reads 12.32V at the end of the first day, then you’ve used about 30% of your charge, or about 30 amp hours. You would then need at least one solar panel capable of creating 30 amps a day to keep your battery topped up.
Scale Up
After installing one battery and one solar panel (or whatever the minimum is for your RV), you might find that it’s not enough to keep up with your energy needs. Luckily, it’s common and easy to install another panel or battery as needed.
In my case, I find that having one 100 amp-hour battery is enough for my needs. However, having a second solar panel might be useful to keep the battery fully topped up so that I don’t have to rely on the alternator when I’m boondocking for a few days.
In the following section, I’ll recommend a few solar panel kits that come with more than one panel. Keep that in mind if you know you’ll need more energy for your larger RV.
The Different Types of Solar Panels
It’s time to figure out what kind of solar panels you need. Some panels are more efficient (but also more expensive), some are better suited for smaller RVs, and some are better for people who feel less confident installing an electrical system.
Monocrystalline
Monocrystalline panels are made by creating silicon ingots, which are then trimmed at the corners and cut into thin slices. The final product looks like several rows of stop sign-shaped wafers.
I use a monocrystalline panel on my RV. Note the rounded edges of each section where the silicon ingots were trimmed during production.
Pros to Monocrystalline Panels
- They’re made of single silicon crystal, making them more efficient than polycrystalline panels; some monocrystalline panels have an efficiency of 20% or higher
- They’re the oldest and most reliable form of solar technology around; some panels can have a longevity of 50 years or more
- They’re more resistant to high temperatures than polycrystalline panels
Cons to Monocrystalline Panels
- They’re more expensive than polycrystalline panels
- The panel production process creates more silicon waste than polycrystalline panels, so they’re not as eco-friendly
Monocrystalline Panel Recommendation
Time and time again, this 400 watt monocrystalline solar starter kit from Renogy comes up as one of the best buys for an RV solar system. Working together, these panels can create about 120 amps on a sunny day, which is enough to keep a few batteries topped up. The kit also comes in a slightly less expensive polycrystalline version.
Satisfied customers love how easy it is to install and start using. It comes with almost everything you need to start generating solar power, including four 100 watt solar panels, a charge controller, mounting brackets, an adapter kit, and tray cables. The only other major piece of equipment you’ll need in addition to this kit is a battery or two.
Polycrystalline
Polycrystalline panels are made by melting down silicon and pouring it into a single mold. These panels look like a rectangle made up of many perfectly flush squares.
One way to tell that it’s a polycrystalline panel is that it doesn’t have rounded edges like monocrystalline panels.
Pros to Polycrystalline Panels
- They’re less expensive than monocrystalline panels
- They’re durable and have a projected longevity of about 25 years
- They’re more environmentally friendly to produce than monocrystalline panels
Cons to Polycrystalline Panels
- They’re only about 70% – 80% efficient as monocrystalline panels; the world record for polycrystalline efficiency is currently just above 19%
- They’re less space-efficient than monocrystalline panel; a monocrystalline panel that achieves the same efficiency as a polycrystalline panel will be smaller
Polycrystalline Panel Recommendation
If you want absolutely everything you need to start generating solar power, then this 100 watt solar kit from WindyNation is a great place to start. It’s designed for RVs, boats, cabins, and other small structures.
This kit comes with one 100 watt solar panel, a charge controller, cables, connectors, mounting brackets, and a 100 amp-hour deep cycle battery. The single solar panel can charge up to 33 amp hours per day, depending on sunlight availability, and you can always add more panels in the future. Many customers found that this was a great system to start with, and it’s easy on the budget to boot.
Flat Panels
Flat panels are the oldest and most common form of solar technology. They come in monocrystalline and polycrystalline varieties and mount to the top of the RV.
This flat panel is mounted to the top of an RV. You can tell by the rounded edges of each section that it’s a monocrystalline panel.
Pros to Flat Panels
- They’re less expensive than flexible panels
- They have longer warranties than flexible panels (on average, 25 years vs. 10 years)
- They’re durable
- They aren’t mounted directly on top of the RV, allowing air to circulate underneath and increase the efficiency of the panel
Cons to Flat Panels
- Installation requires some drilling or mounting
- They’re not as aesthetically pleasing as flexible panels
Flat Panel Recommendation
This 100 watt polycrystalline solar panel kit from HQST is one of the most affordable options on our list. It’s also one of the most highly rated, with customers commenting on its good value for money.
The kit comes with one 100 watt solar panel, a charge controller, adapter cables, and all the necessary mounting hardware. Plus, the panel has pre-drilled holes, so set-up is quick and easy. With the included charge controller, you can expand your system to up to four 100 watt panels.
Flexible Panels
Flexible solar panels are monocrystalline or polycrystalline panels that are made using silicon wafers that are 300 times thinner than traditional flat panels. They’re ideal for smaller RVs because they can save space.
Pros to Flexible Panels
- Compared to flat panels, they’re thinner and lighter
- They can conform to the top of your RV and are therefore more aerodynamic than flat panels
- It’s easy to mount flexible panels to your RV because you don’t have to drill many holes
Cons to Flexible Panels
- They’re more expensive than flat panels
- They have shorter warranties than flat panels
- Some customers complain of warping over time
Flexible Panel Recommendation
This 200 watt flexible solar panel kit from Go Power comes with solar controller and cables for a quick and easy installation. The panels can curve up to 30 degrees and are 82% lighter than conventional solar panels.
Some reviewers have commented on the amazing durability of these panels, claiming that even after falling off the RV and onto the highway (due to operator error), the panels still worked perfectly.
Portable Panels
Portable panels can either be flat or flexible, but in either case, they are meant to be stored when not in use. This is a great option for RVers who don’t want to install anything on the roof of their rig when they first start building their solar system. Miniature solar powered lights have long been one of our top tips here at Your RV Lifestyle.
Pros to Portable Panels
- There’s no mounting, drilling, or gluing required on the roof of your RV
- You can store panels when they’re not in use
- You can generate power even when you’re parked in the shade to keep your RV cool
- There’s little to no maintenance required
- You can use it with a new RV if you upgrade from your current rig
Cons to Portable Panels
- Larger flat panels can be unwieldy
- You have to set up and take down the panel each time you want to use it
Portable Panel Recommendation
This portable monocrystalline solar panel from Zamp is an excellent choice if you want to generate a lot of power with little to no set-up. In sunny weather it can generate 30 to 40 amp hours per day. It comes with a built-in charge controller and connects directly to your battery with a set of included alligator clips.
Customers love the solid construction of the set-up and how easy it is to use. Although the panel folds up for stowing, some customers note that it’s a little on the heavier side.
Start Powering Your Adventure With Solar
Choosing and installing your first solar panels for your RV can be intimidating, but it also comes with several rewards. A solar-powered electrical system is a safe, clean, and noiseless way to generate energy. Once you determine exactly which components suit your needs, you can install them in as little as an afternoon. Best of all, solar panels can help you explore more off-grid places and will save you money down the road.
Solar Charger and RV Covers
Question: Is there a technique to cut an RV cover (Adco) around the solar trickle charger on the roof so it will function while covered?
Answer: Our concern would be that you might be defeating the purpose of a one-piece cover, by letting in moisture, dust, wind, etc.
RV Battery Solar Charger
Question: I have a 2010 Timber Ridge 260RLS travel trailer. It came with a battery solar charger mounted on the roof. My question is if I turn on the solar charger with the battery disconnect switch off, will the solar charger still charge my batteries?
Answer: It depends on how the solar charger system was wired. If it was wired to bypass the battery disconnect switch, then the batteries should charge.
If you want to test it, turn the battery disconnect switch to the disconnected position. Shut off all external power to the trailer, then take a reading with your voltmeter across the battery. It should read at least 13.2 volts. If it does, then the batteries are being charged.
If you want to test the state of the batteries in general, turn off all external power and also the solar charger. Wait a few minutes for the batteries to stabilize. With no draw on the batteries, the voltmeter reading should be between 12.7 and 12.9 volts to indicate a fully charged battery.

