Custom-made window shades are a beautiful and efficient way to keep your RV cool this summer.
As the summer heats up, so does your RV. A set of custom-made window shades is one way to keep your RV cool. This guide will show you how to make them.
Sunlight coming in through the windows can make it difficult to keep interior temps at a reasonable level. Even if you’re lucky enough to have an air conditioner, using it more than you need to can be a drain on your energy supply and your wallet.
In this guide, I’ll walk you through the steps I took to make my own set of beautiful window shades. The entire project is inexpensive, easy, and you can complete it in a day. Before you know it, you’ll be back on the road and a whole lot cooler.
The Benefits of Custom-Made Window Shades for Your RV
Custom window shades aren’t just great for keeping excess heat out of your RV in the summer. There are several other benefits, including:
- They save energy – You’ll be able to run your air conditioner less or not as often, which is one way to save energy while you travel.
- They’re good for a zero-waste lifestyle – The less energy you’re using to keep your RV cool, the better it is for the planet.
- They look nice – Because you’re making them yourself, you can add decorative touches that match the style of your RV.
- They give you extra privacy – These window shades are flush with the edges of your window and use black fabric so that anyone on the outside of your RV won’t be able to see in.
- They work well in all seasons – The material you’ll use in this project keeps structures cool in summer by bouncing UV rays away, but it also keeps things warm in winter by trapping ambient heat inside.
Materials
You don’t need much to make your window shades. All you’ll need is:
- Reflectix
- Fabric
- Double fold bias tape quilt binding
- Fasteners of your choice
- Sewing machine and thread
That’s it! Most of these materials are at your local Walmart, home improvement store, or sewing shop. Below are a few details about each item.
Reflectix
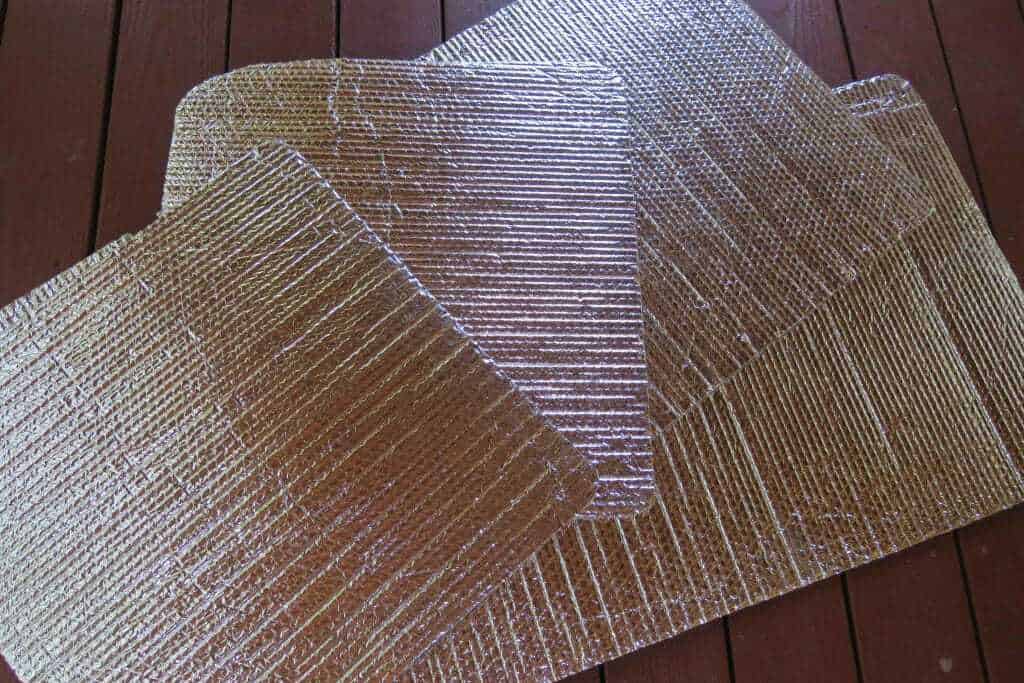
Reflectix is an insulative material used in construction projects to keep structures cool in the summer and warm in the winter. It looks like foil on each side and has a core that is like an extra-durable layer of bubble wrap.
Reflectix is the best inexpensive and insulative material for keeping your RV cool.
Best of all, Reflectix is cheap and easy to find. Chances are you can find it at your local Walmart, Home Depot, or other home improvement store. You can also get it on Amazon.
Fabric
The fabric will go on both sides of the Reflectix. It helps protect the material and keeps your RV looking beautiful.
You’ll want a lightweight but durable black fabric for the exterior-facing sides of your window shades. This makes it so that anyone on the outside of your RV will only see a flat black window, offering complete privacy.
I went with a poly-blend recommended to me by the sales assistant at the fabric store. Something like this will work just as well.
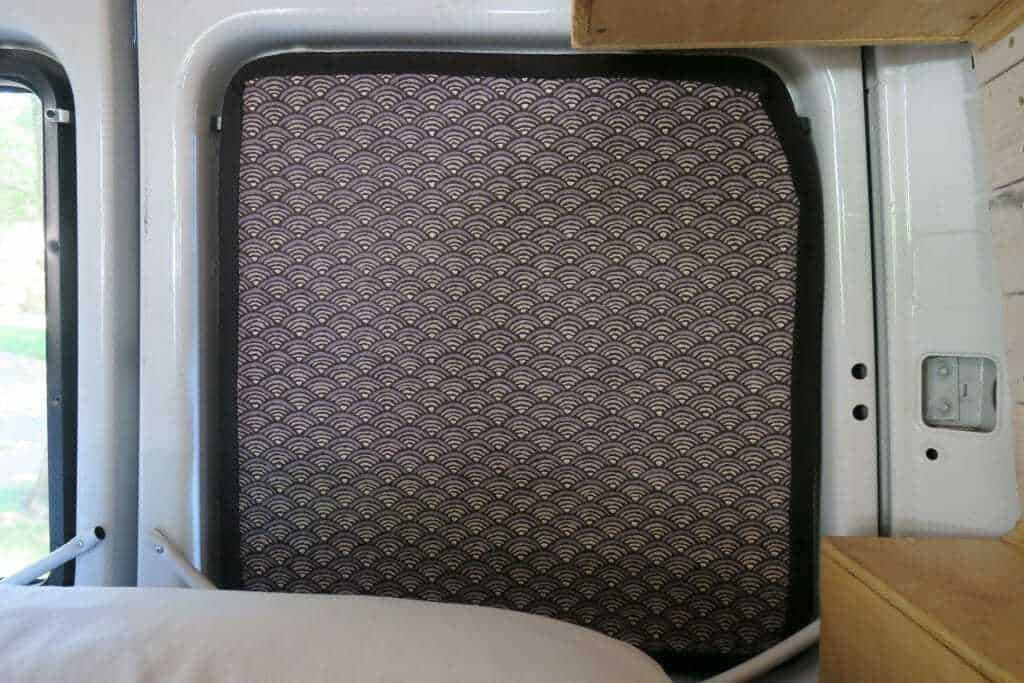
This poly-blend black fabric will go on the exterior-facing side of the window shades, while the decorative fabric will go on the interior-facing side of the shades.
Some people opt to use black on both sides of the window shades. Personally, I wanted something a little more decorative for the inside of the RV. I went with a nice printed drapery remnant that was on sale.
Double Fold Bias Tape Quilt Binding
This is what you’ll use to finish the edges of your window shades. You can find it at any sewing store, hobby shop, or Walmart.
Be sure to get enough yards to complete your project. I needed thirteen yards to finish two square windows and two rectangular windows.
Fasteners of Your Choice
There are several ways you can attach your window shades to your RV. I’ve personally used or have seen in action:
- Velcro
- Snap fasteners
- Magnets
Which method you choose will depend upon the surface you want to mount your shades to.
Hook and loop fasteners like Velcro is best if you don’t want to commit to anything. This version with the sticky back mounts easily to shades and the wall or trim around the windows. It’s strong but can also be removed if you change your mind. I went with Velcro for my shades this time around.
Snap fasteners like these offer a permanent solution and look professional. They’re easy to install but do require you to drill some holes into your RV.
Magnets are my personal favorite solution. You can hide them inside the quilt binding around the shades for a clean look. I usually do these sorts of projects with magnets but didn’t this time because the trim around my windows isn’t metal. If you want to go this route, I recommend getting these.
Sewing machine and thread
Don’t worry if you’re not a sewing expert. Making these window shades is easy even for a beginner.
Full disclosure, the first time I attempted to make these window shades I used glue. We were already on the road and I knew I wouldn’t have access to my sewing machine for several months, but wanted to try these out.
While I wouldn’t recommend it (it’s more tedious than sewing, believe it or not) if you’re in a tough spot you can use contact cement. You can also use tacky glue, but it’s not quite as strong.
Instructions
Once you have all your materials gathered, you’re ready to get to work.
If you’re more of a visual learner, check out the video below to see an overview of how to make these window shades.
[https://www.youtube.com/watch?v=SvjPQk0iIng]
Note that in this video, the RV owner has a slightly different sewing technique than what I’m suggesting in this guide.
Step One: Measure the Windows
First, decide where you want the edges of your window shades to be. You may choose to have them perfectly flush with the edges of the windows, or you might want them slightly larger depending on what kind of fastener you’ve chosen for your project.
It’s important to accurately measure your windows before making any cuts to the Reflectix.
In my case, I wanted the shades to perfectly line up with the black trim that goes around my windows.
Once you’ve decided the general shape and size of your shades, measure the width and height of the space.
Step Two: Cut the Reflectix
Cut the Reflectix to size using the measurements you took in step one.
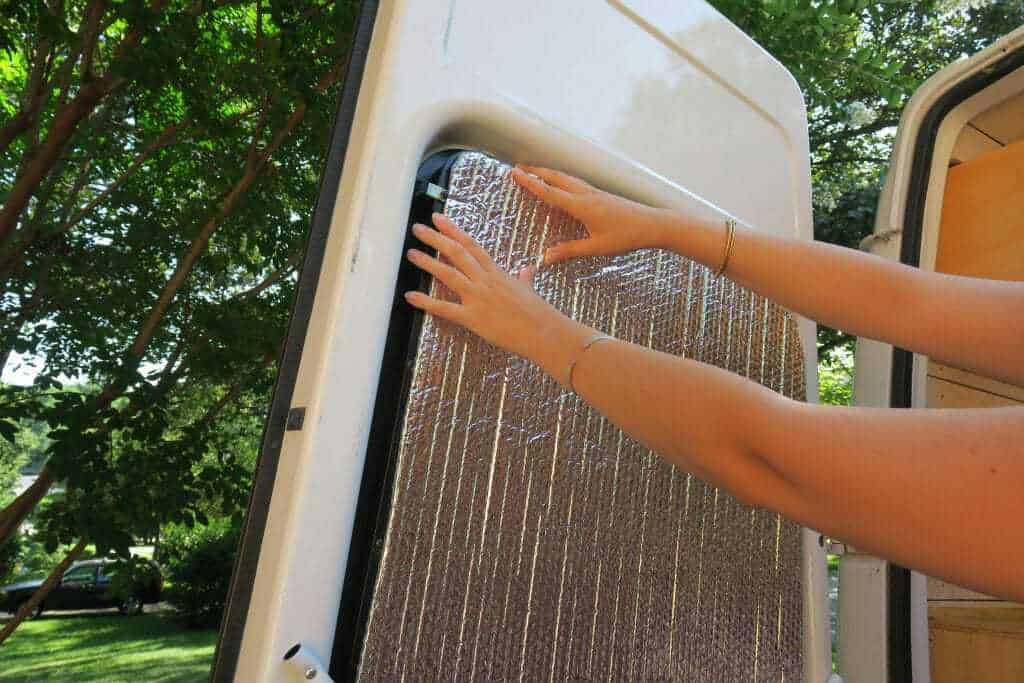
Continue using your windows as a template, especially if you have rounded or unusually shaped edges.
If you have rounded windows like me, hold the cut piece up to the window and make a note of where the rounded corners are. Then cut the corners.
Step Three: Cut and Pin the Fabric
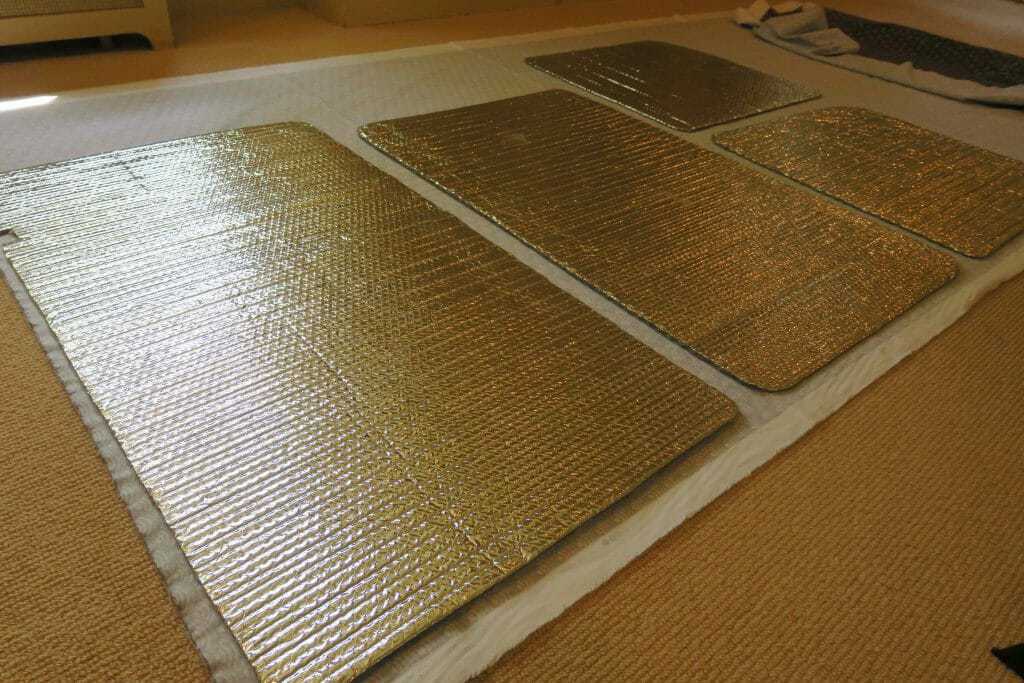
Take one of your newly cut pieces of Reflectix and use it as a template to cut your fabric. You’ll need two pieces for each window shade: one exterior-facing piece and one interior-facing piece.
I laid out all of my pieces of Reflectix on the fabric before I started cutting.
After you’ve cut out the pieces for each window shade, pin them right-side facing out to either side of the Reflectix.
When you pin the fabric to the Reflectix, it should look how you want the finished piece to be.
Step Four: Sew the Fabric to the Reflectix
Now that your fabric is pinned to both sides of the Reflectix, sew a few straight lines spaced evenly apart directly across the shade.
You can use straight pins to mark where you want the quilting lines to be. I spaced mine about 3-4 inches apart.
Be sure to sew through all three layers of material. This quilting technique will help hold the Reflectix in place.
Step Five: Add the Quilt Binding
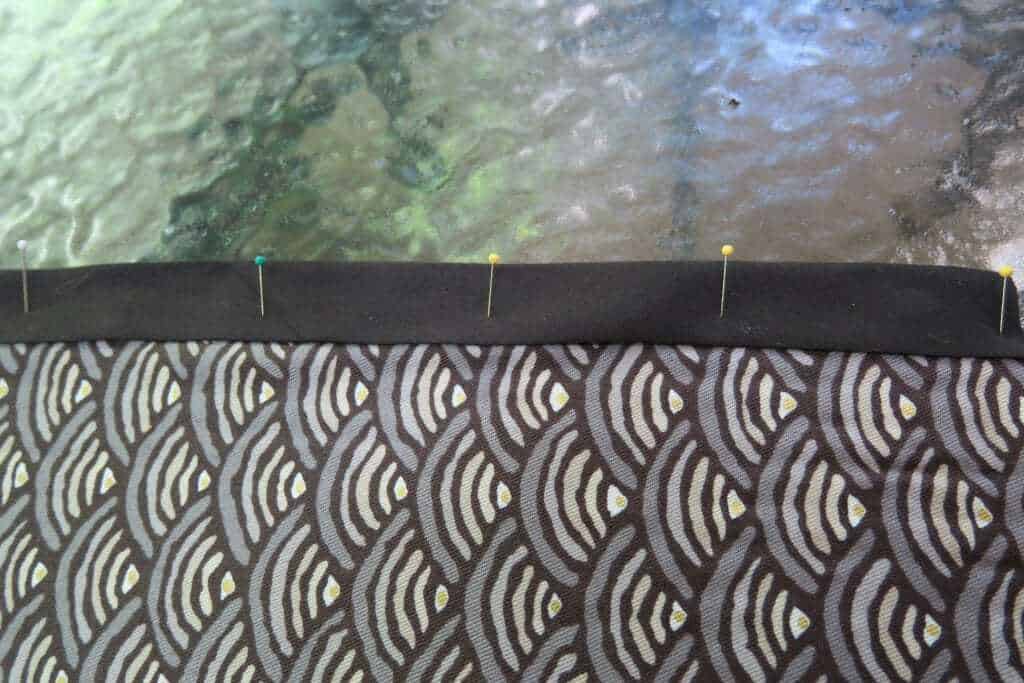
Cut a piece of quilt binding long enough to go around the entire edge of the window shade, then sandwich the edge of the shade between the fold of the binding and pin it in place.
Pin the quilt binding to the edge of the window shade.
Sew close to the edge of the binding all the way around the shade. This will give your shades a nice finished look.
If you’re using magnets as your fastener, jump to the next section before completing this step.
Step Six: Add the Fasteners
For Magnets
If you’re using magnets, you’ll need to put them inside the quilt binding before you sew it to the shade.
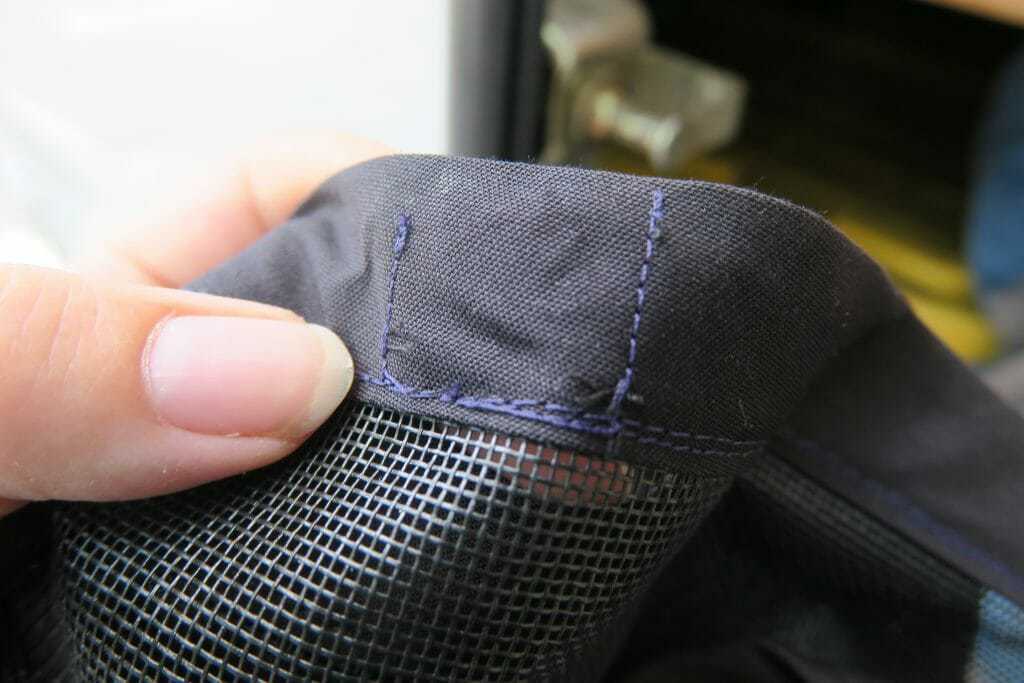
To do this, pin the binding in place as you did at the beginning of step five, then slip a magnet inside the binding every 4 – 5 inches. Then, sew a small stitch on either side of the magnet to hold it in place. This creates a tiny pocket for the magnet to sit in.
Here’s an example of a magnet pocket in my custom-made mosquito screen.
After your magnets are in place, then you can sew the binding shut all the way around the shade.
For Velcro
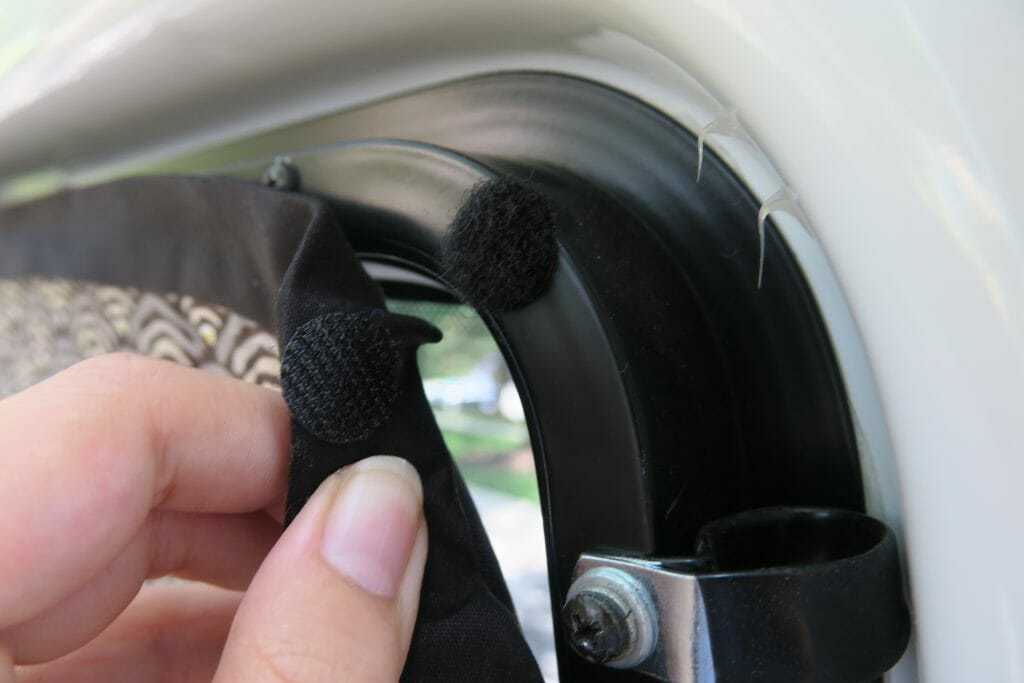
If you’re using Velcro, sew a few pieces to the binding on the exterior-facing side of the shade.
Velcro on the exterior-facing side of my window shade matches up with pieces I stick to the window trim.
I recommend putting the pieces with sharp hooks on the shade, then sticking the soft side of the Velcro to the wall of your RV. This will keep it from snagging your clothes if you brush against it when the shade is off.
For Snap Fasteners
If you’re using snap fasteners, simply follow the package directions to attach them to your shade. You’ll need to screw the matching part to the wall or window trim of your RV
Step Seven: Enjoy Your New Shades!
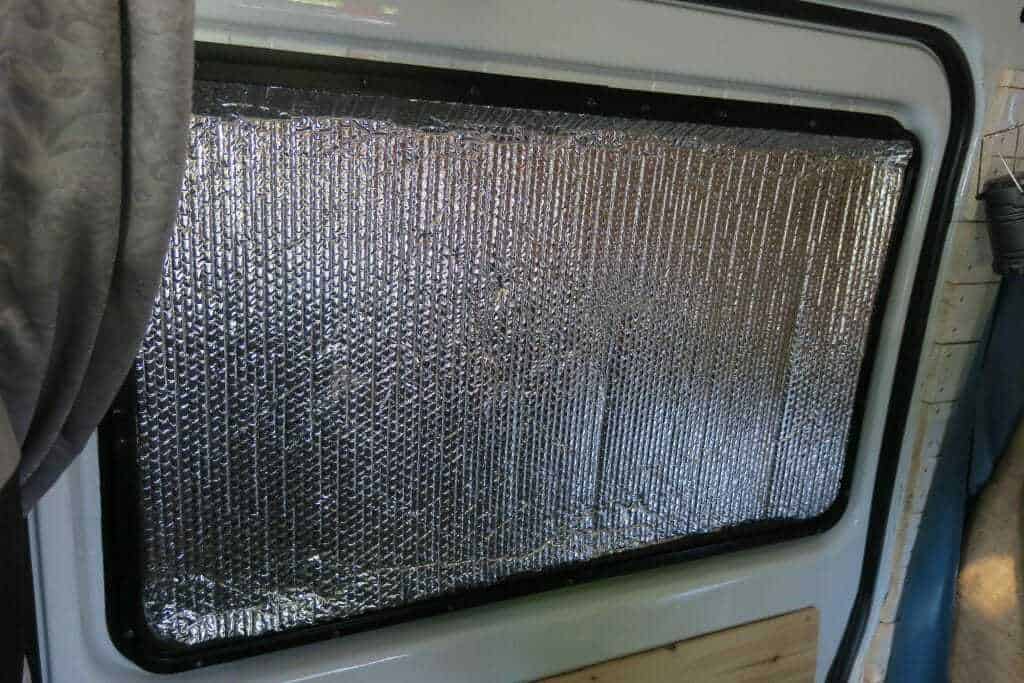
The new shade is in place and ready to go.
Hang your finished shades up and enjoy the benefits of keeping your RV a little bit cooler this summer.
4 Affordable Insulation Alternatives
Is sewing or crafting not an option for you? With these alternatives, you can still reap the benefits of keeping your RV cool.
Plain Reflectix
While fabric will make your shades look nice and increase the longevity of the Reflectix, there’s no reason you can’t use it on its own to block out the sun. Simply cut a few pieces to the size of your window and either rest it inside of the window trim (if you can) or add some pieces of sticky-backed Velcro around the edges.
We used plain Reflectix for a while before adding fabric and it worked just as well.
This low-tech option is still a great way to control the temperature inside your RV.
Blackout Curtains
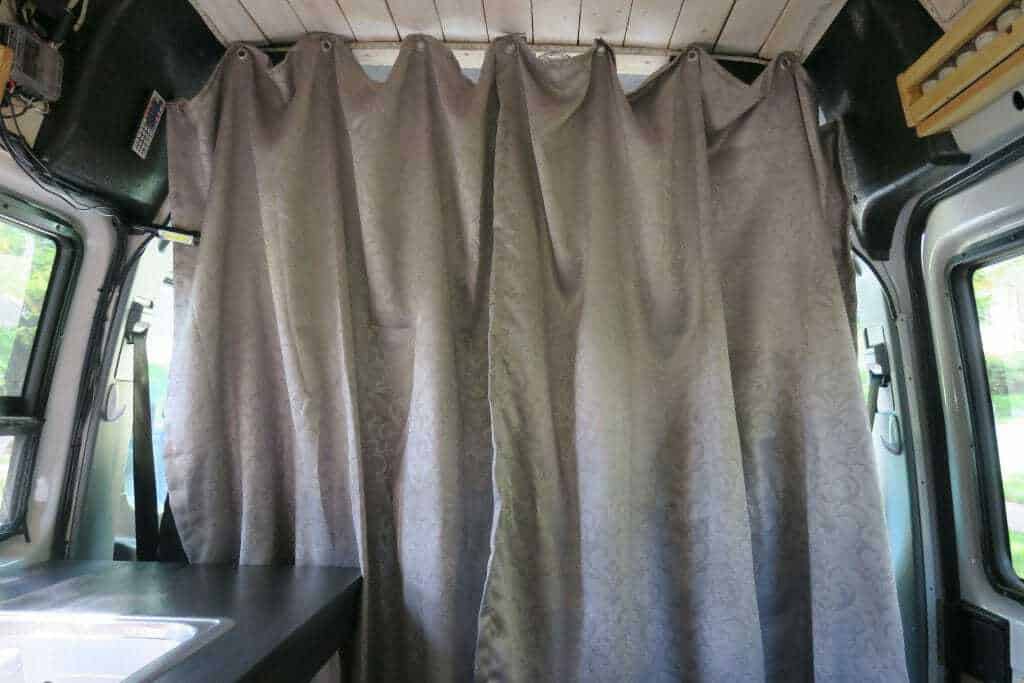
We also added blackout curtains to separate the cab of the RV from the rest of the living space. This offers privacy but also helps with the temperature, too.
The blackout curtains hang from a few cup hooks screwed into the ceiling.
Try using these curtains and see if it doesn’t make a difference for you.
Collapsible Sunshades
Covering the windshield is essential to help keep things cool inside a motorhome. These collapsible sunshades from Newport West are perfect for a class A RV and fold up to 1/10th of its full size.
SunShield Reflective Door Cover
This universal cover fits over the window on the front door of many trailers. It uses hook and loop fasteners (i.e. Velcro) so you don’t have to worry about permanently altering the structure.
Keep Your RV Cool This Summer
Don’t let extreme temperatures keep you from getting out and enjoying your summer. A set of custom-fit window shades can keep things cool so you can use the air conditioner less.
With a few common materials and a single afternoon, you’ll be able to create a set of beautiful window shades. Even if you’re not crafty, there are still several affordable solutions on the market that will cut down on your energy usage and save you money.

Jill Miller is the founder of Your RV Lifestyle. Trading corporate America for the open road, Jill, along with her partner Jose, began their RV journey, making an unconventional start by wintering in New Jersey. A natural adventurer, she was motivated by a desire to explore the USA and beyond, embracing the varied landscapes, communities, and cultures across the country.
For Jill, the allure of RV living was not about material accumulation, but rather the pursuit of an adventurous, fulfilling lifestyle. A lover of golf, bicycling, hiking, and line dancing, she has carried her passions across the country, engaging with them in diverse settings. Jill’s commitment to the RV lifestyle came after years of careful research, numerous consultations with RV owners, and personal trials, including living in a rental RV.
