Van insulation can make a world of difference when it comes to van life. If done right, you can withstand the desert heat or 30 degree weather. Comfortably, might I add. Now you could go all out with the best materials, using power tools and getting real technical. Or you could read on and I will explain how to install van insulation with minimal funding.
Using Great Stuff and reflectix is a cheap but effective option for van insulation.
What Materials You Will Need
Let’s start off with a shopping list shall we? For the van insulation you will only need 3 items. These items are:
- Strong Adhesive Spray Glue-This will keep your reflectix in place when attaching it to the metal of your van.
- Great Stuff-This insulation is a spray foam sealant that will get into all the little nooks and cracks of your van.
- Reflectix-This stuff works wonders and is handy as well as affordable when installing van insulation. It’s like a reflective bubble wrap.
You will not need too many tools for this van insulation process.
Good Tools To Have Handy
Of course, you will need tools. So here is a list of simple tools that will come in handy in your van insulation process:
- Trim Removal Tools-You will need this to remove the plastic trim.
- Screwdrivers-Handy tool to have if you need to take things off the van such as interior lighting.
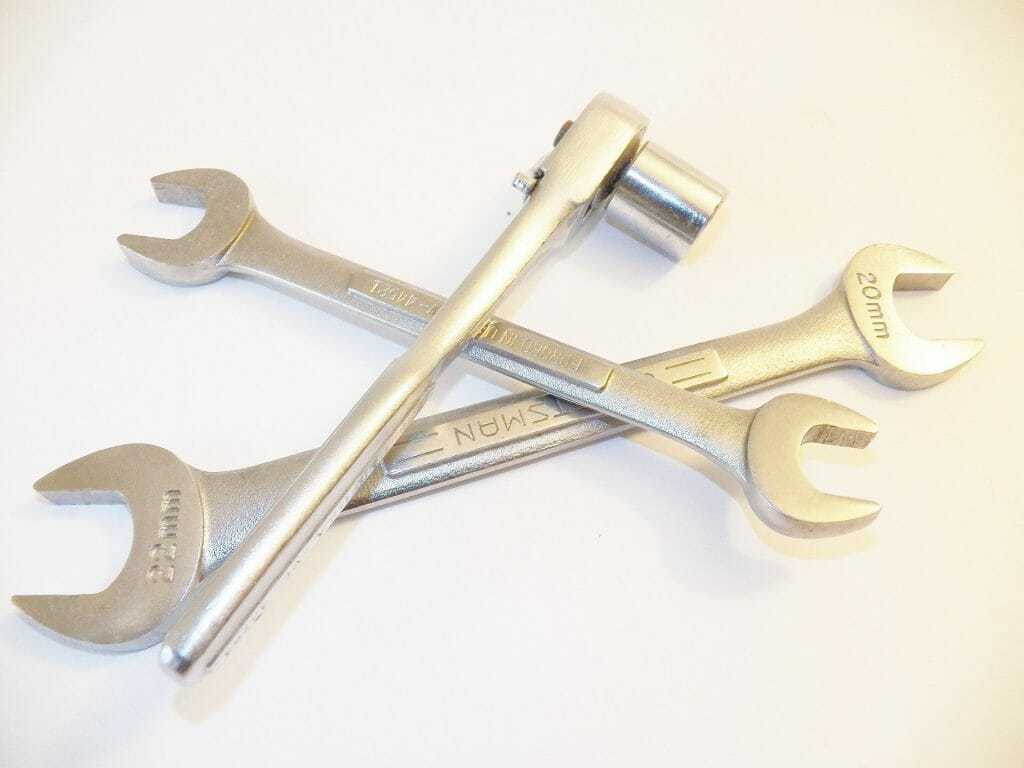
- Wrenches-This tool you will need to take out the seats.
- Box Knife-Used to cut the insulation along side with the scissors.
- Scissors
- Respirator-Better to be safe when dealing with the chemicals in the Great Stuff or the adhesive spray.
- Tape Measure-Used to measure out your reflectix.
Check out these articles if you want more ideas on the best toolbox or multitool.
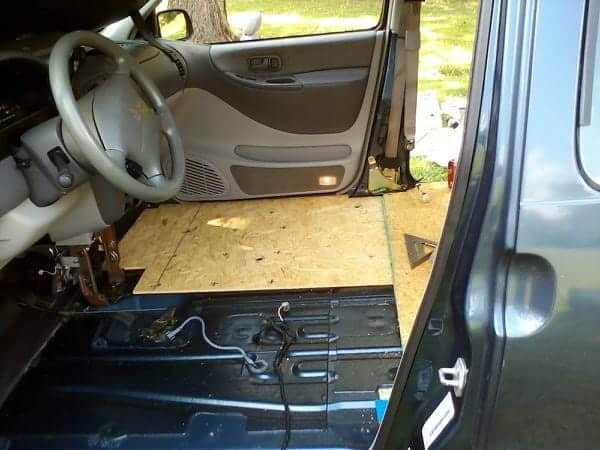
Self Taken. You need to take everything out of your van in order to put in van insulation.
Take Everything Out
In order to put your van insulation in you have to take everything out. Take out the contents of your van with care if you plan on reusing them. DISCLAIMER: Always be mindful of electrical wires or side curtain airbags. when removing the contents in your van.
Here are the steps:
- Step 1-Take out the seats. There should be four bolts that hold the seats down. You will probably have to unplug a wire or two. Tools you will need: a wrench and screwdrivers.
- Step 2-Take out the siding of the van. Make sure not to crack the plastic trim. You may need a torx bit to take the seat belt off. Disclaimer: Make sure to put the seat belt on to the manufacturer’s recommended torque.Tools you will need: trim removal tools.
- Step 3-Take out the carpet and ceiling. The trim pieces hold floor and ceiling in place. You may have to disconnect the overhead lights, remove sun visors as well as the grab handles. Tools you will need: screwdrivers.
Great Stuff is a good van insulation option to seal all the holes and cracks.
Bring Forth The Great Stuff
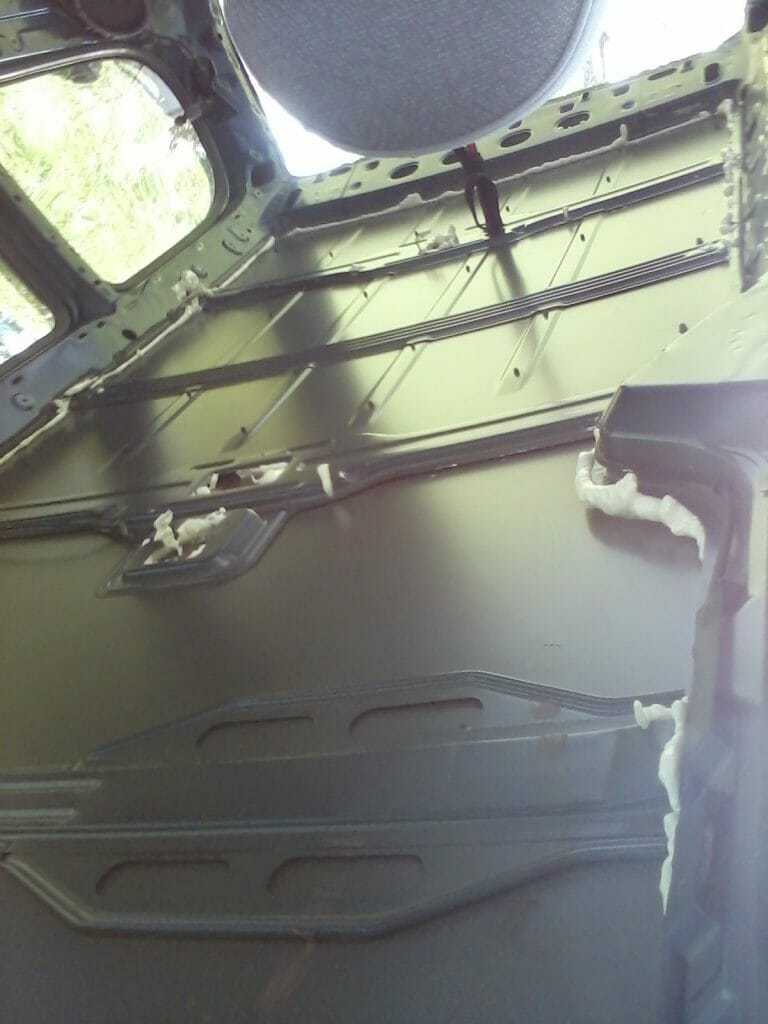
Let’s start with the Great Stuff, shall we? This will plug up any holes or cracks when it comes to your van insulation. We used the Great Stuff with the quick stop straw. The straw helps to keep it from dripping. The basic steps when using Great Stuff for your van insulation are:
- Make sure to have your respirator and a well ventilated area. To keep from this insulation from getting onto your skin wear longer sleeves and pants. Make sure it’s clothes you don’t mind getting dirty. Gloves are also a good option for protection.
- Attach the straw to the Great Stuff container.
- Aim the straw towards the back of any holes or cracks.
- Begin to spray with light but consistent pressure moving the straw out of the hole or along a crack. Make sure to stop spraying before you reach the end because the foam will grow.
- After the Great Stuff has hardened, you can take a box knife and start to scrape away at the extra insulation that grew out of any holes.
Also try to find Great Stuff with minimal expansian properties. This is recommended for the pillars around the windows. That way it doesnt deform the structure of vehicle.
This van insulation will help control the temperature in your van. It also can prevent any drafts or bugs from getting in. For more ideas on how to keep cool go here.
Reflectix is a great van insulation option that will keep your van’s temperature moderate.
Stay Cool(Or Warm) With Reflectix
This van insulation option is a good versatile item. If you have any leftovers keep it for these ideas such as solar cooking or window covers. The parts of the van you will use the reflectix on will include:
- The Sides
- The Floor
- The Ceiling
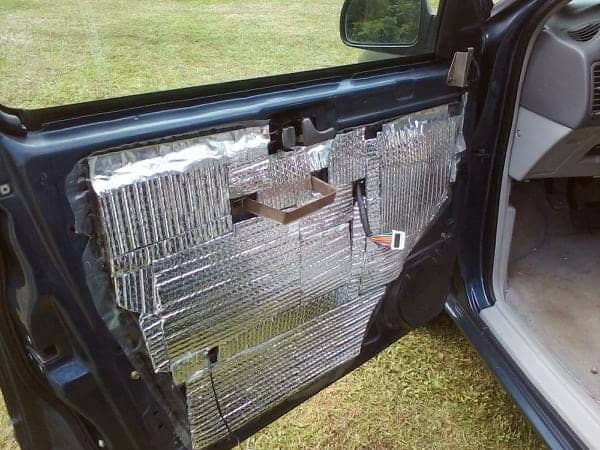
- And don’t forget about all your doors
These are the simple steps when it comes to installing reflectix:
- Make sure you are in a well ventilated area and you have your respirator handy.
- Measure your reflectix pieces to fit in all the areas you want it to go. You can either eyeball this or use your tape measure.
- Use your box knife along with your scissors to cut the reflectix pieces.
- Take your reflectix piece and spray the back with the adhesive spray.
- Attach the sticky side to the van. Follow the instructions on the can to get the best results.
- Rub the reflectix for about 30 seconds to help the adhesive stick better while it is drying.
- Repeat steps 3 through 5 until you have your entire van insulated.
Another good trick is to use reflectix seam tape to cover all the seams to your van insulation.
Keeping your items stored and organized will help in putting it all back after you installed your van insulation.
Put Everything Back In
Now that you have put your van insulation in it is time to put everything back together. Of course, you will be going in reverse this time:
- Put back in the carpet and ceiling.
- Put back in the trim. These should pop back into place.
- Bolt your seats back down unless of course you are modifying it to be a camper van. In this case get to building!
See, wasn’t too hard or expensive. Putting in van insulation doesn’t have to be that complicated or costly. By doing these easy steps with van insulation you can enjoy a temperature controlled camper van in many different climates.

