Ah, the dreaded black and gray tanks.
Trying to figure out how to clean your black and gray tank can be frustrating if you’re just starting camping or if you’re beginning your full-time RV life. I wish I could tell you that when we started our RV life that we didn’t make any mistakes but we did. I hope that you don’t make the same ones.
Continue reading this article and I’ll share our experiences as well as how to clean your black and gray tank so they don’t smell gross.
What’s that Terrible Smell?
If you don’t clean your black and gray tanks properly, you’re going to notice a deathly stench of sewer and dishwater coming from your bathroom and your kitchen sink. After a while it won’t just be those areas and the whole RV will smell terrible.
There are some things you can do to make sure that you’ve emptied your black and gray tanks the right way and you’ve also cleaned them.
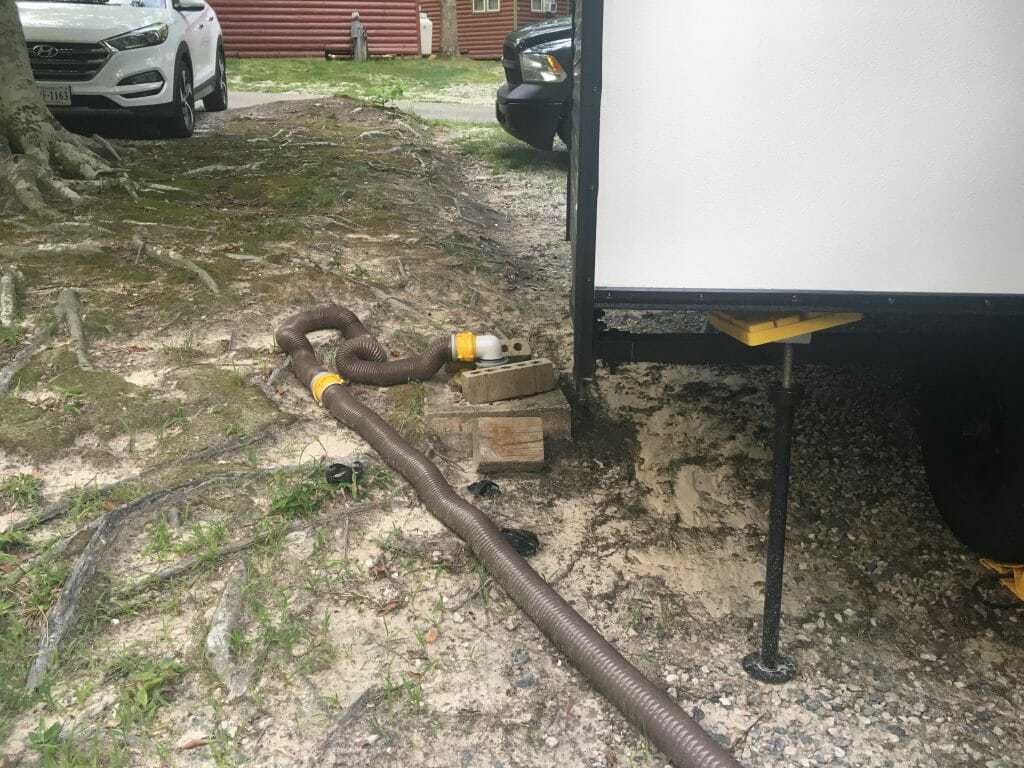
This situation is a little uphill so be prepared with plenty of sewer hose.
Need extended sewer hose for your RV? You can connect them as long as you need to.
No products found.
Let’s start with the RV’s gray tank.
First, you should know that your gray tank is where the water from your sinks and showers goes. Just because it isn’t as difficult to take care of as your black tank, that doesn’t mean that you should neglect it.
It’s easy for soap scum, grease and food residue to build up in your gray tank. These things can not only cause a big stink but they can also clog your gray tank which will cause a world of other problems. Thankfully, we have never had to experience a clogged gray tank — even though we were totally new when we started RVing and probably didn’t do most things the right way.
You should clean the tank periodically and also use a treatment as needed.
Cleaning Your RV’s Gray Tank
Valve to open and drain the gray tank
If you want to get the easier tank out of the way first then clean the gray tank for sure. When you start to smell some odors from the gray tank, you know it is time to clean your gray tank.
When it is time to clean the gray tank, you need to use a cleaning agent to get started.
Here are a couple of options you can use.
No products found.
This is a powerful cleaner that can really kick it up a notch in the cleaning department.
No products found.
Here’s another strong option but it is a little less expensive than the option above.
Once you have your cleaner in your tank, it’s time to take a drive. You should plan your cleaning before you move your RV. The movement of your RV is going to shake up the tank and allow the buildup on your tank to breakup and get sloshed away.
Once you get finished with your drive and you’re back on hookup, it’s time to drain the gray tank and let all of the cleaners and other liquid out of the tank.
Now you need to rinse the tank with the backflush or use a special flush valve if your RV doesn’t come with the backflush feature.
Here is a flush value you can use if you don’t have a backflush.
No products found.
Once you’re finished, you should get some tank treatment to put down into the gray tank system so you avoid odors in between gray tank cleanings.
Things to Keep in Mind When You’re Draining Your RV’s Gray Tank
When you’re draining your RV’s gray tank, there are some things to remember that are going to make your life easier.
You should dump your black tank before you dump your gray tank. The reason you’ll do this is because the gray tank water helps you wash the black tank contents out of the hose.
While you can keep your gray tank open when you’re not dumping it, you should keep the black tank closed. If you don’t keep the black tank closed until it is ready to dump, the solids can build up on your tank walls and it could cause major problems.
To make your gray tank dumping experience easier, you should scrape food off your dishes and into the trash. Also, take it to the next level by putting a strainer over your sink drain so no food gets through and gets stuck in your gray tank system.
Check the laws in the local area to make sure you’re allowed to dump if you don’t have hookups. Some people do what is called stealth dumping among RVers but you don’t want to dump illegally.
While it might seem innocent to dump your dishwater on the ground, it can cause major problems like soggy campgrounds and soap in fishing ponds if everyone were to adopt this practice. Be a part of the solution and not a part of the problem.
Cleaning Your RV’s Black Tank
Black tank valve to release the gross black water.
Now that we’ve taken care of the easy tank, let’s get into how to flush your black tank. If you feel like you’re going to gag, you’re not alone.
You should also know that every RVer has a “poop story” and for some reason, we all love to share them with each other.
I am really happy that my husband takes care of the poop end of things so I don’t have my own poop story but he told me one and it was not great.
He took our portable dump tank down to the dump station. The way it was set up at this campground — it wasn’t great. He was trying to get the tank to empty and somehow the end flew up and… well, thankfully he got it under control but still. Lol
Here’s a heavy duty and easy to use portable waste tote tank if you want one of your very own.
No products found.
I wish we would have gotten the one that has 4 wheels but we have the one that only has 2 wheels. It makes it a pain if we’re pulling it by hand. We also got a strap that we use to connect it to our hitch.
The one above already can connect to your hitch so you don’t have to worry about that if you get this one.
Want a cheaper option? You can try the one below.
No products found.
Now that you know about those handy helpers, let’s get back to the black tank.
It’s time to drain the tank. Get as much of the gunk out as you can and then you’ll need to remove the buildup. Waste and toilet paper are going to stick on the walls if you don’t take care of it.
Yes, gag — I know.
Not only might you experience those gross odors but you’ll also have to worry about blockages that can cause serious problems. Think — your black tank exploding!
You may choose to use a flush valve as we talked about above of you could use a wand or flexible swivel stick which is basically the reverse of the flush valve.
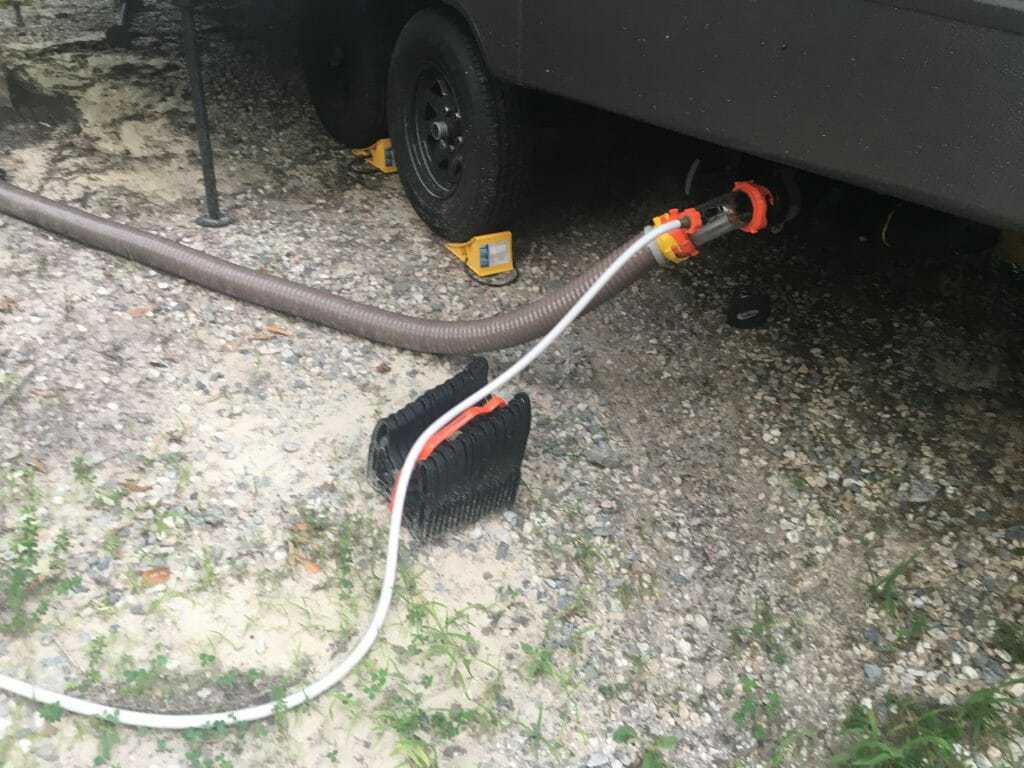
Our sewer setup. You can see the flush valve that helps us keep our black tank clean.
Instead of spraying high powered water up the tank, use a wand or flexible swivel stick to spray it down the tank through the toilet.
Another option is a tank rinser. There are tank rinsers that are permanently in your tank and others have to be inserted into your tank each time you’re ready to clean it. There are different types of tank rinsers to choose from such as straight spray or side spray for difficult to reach areas in your tank.
Now that you’re finished, it’s time to go to the next step.
You need to add water back to your black tank before you try to put treatment in it. Make sure the bottom of the tank is totally covered. Fill your toilet 5 or 6 times and you should be good to go.
Using plenty of water when you flush is going to help your black tank keep from getting clogged and any more disgusting than it is already.
Can You Use Bleach and Other Non-RV Specific Products?
If you want to risk it then that’s your choice but it’s best to use products that are designed for RVs so you know that it is safe to use. Even using toilet paper that isn’t for RVs can hurt your RV so why would you want to chance a household cleaner with a system that is so important?
Need some RV toilet paper while you’re at it?
No products found.
Summing Up How to Clean Your Black and Gray Tank
Now you know how to clean your black and gray tank. It’s not a fun task but it is a necessary one. If you take good care of your RV through proper RV service, you can continue to have great adventures throughout this beautiful country.
Still looking for more great reads? Check out our article on places and plans so you can get more great ideas on where to take your RV.

Jill Miller is the founder of Your RV Lifestyle. Trading corporate America for the open road, Jill, along with her partner Jose, began their RV journey, making an unconventional start by wintering in New Jersey. A natural adventurer, she was motivated by a desire to explore the USA and beyond, embracing the varied landscapes, communities, and cultures across the country.
For Jill, the allure of RV living was not about material accumulation, but rather the pursuit of an adventurous, fulfilling lifestyle. A lover of golf, bicycling, hiking, and line dancing, she has carried her passions across the country, engaging with them in diverse settings. Jill’s commitment to the RV lifestyle came after years of careful research, numerous consultations with RV owners, and personal trials, including living in a rental RV.


