Owning an “older” RV can be a wonderful thing – you’ll save serious dough when you buy it, have the flexibility to renovate it, and (if you do your homework) your older RV will have tougher foundations than most new ones.
I know this because I’ve done it. My wife and I live full-time in an ‘88 Airstream that cost us a fraction of what a new RV would have. It also hasn’t given us a lick of trouble in 3+ years and we’ve been able to DIY the inside to our liking – all on a budget.
So, if you follow my lead and grab an “older” RV, you’ll surely see some of these same advantages. However, if you buy anything pre-2000, you’ll almost certainly want to change the floor out. The 70s, 80s, and 90s were marked by many great things, but RV flooring was not one of them…
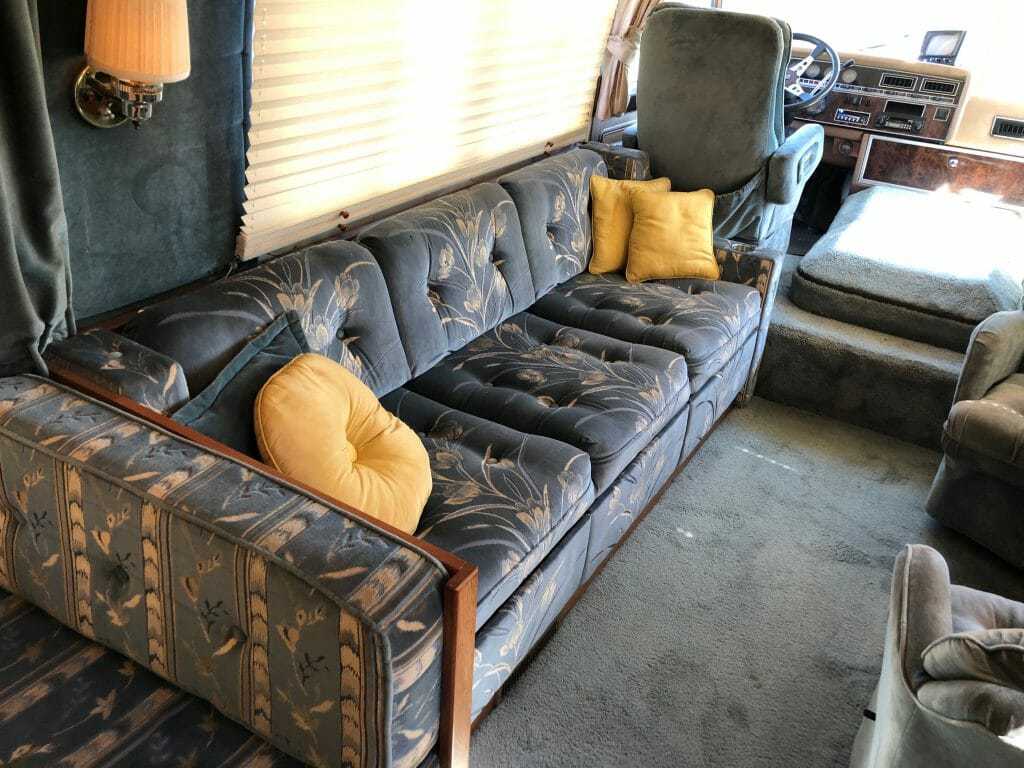
From shag carpeting to atrocious vinyl to God-awful linoleum – the 70s-90s were a cacophony of bad decisions in RV flooring.
Shag blue carpeting and gaudy upholstery were the hallmark of 80s design, as seen here in the interior of our 1987 Airstream 345. We saved a ton of cash buying this used RV. We put some of that savings back into remaking the floor you see.
When you save money buying used, you can spend a chunk of that savings to DIY a new floor in your RV. And you won’t have to break the bank either. I’ve DIY’d two new floors in my RVs – both for under $700 all in.
Here are the steps to DIY a new floor in your RV:
Tear up the old floor
This isn’t nearly as daunting as it may seem. I’ve torn up two floors, one was shag carpet and the other was a “click and lock” laminate. Both were relatively easy to pull up:
See that old brown floor? That’s the first RV floor I ever pulled up. Like most RV’s, it was a “floating floor” meaning that the pieces simply locked into each other and were not fastened at the edges. So, all I needed to do was start pulling it up from one end of the RV and it all came apart relatively easily.
That said, there are some areas where you may have to break or cut the flooring to get it to separate. As you can see here, I’m battling the flooring around our toilet. Thankfully, I didn’t have to pull the toilet up, but you may have to. If you wind up needing to pull your toilet, be sure to check out this video to walk you through that process:
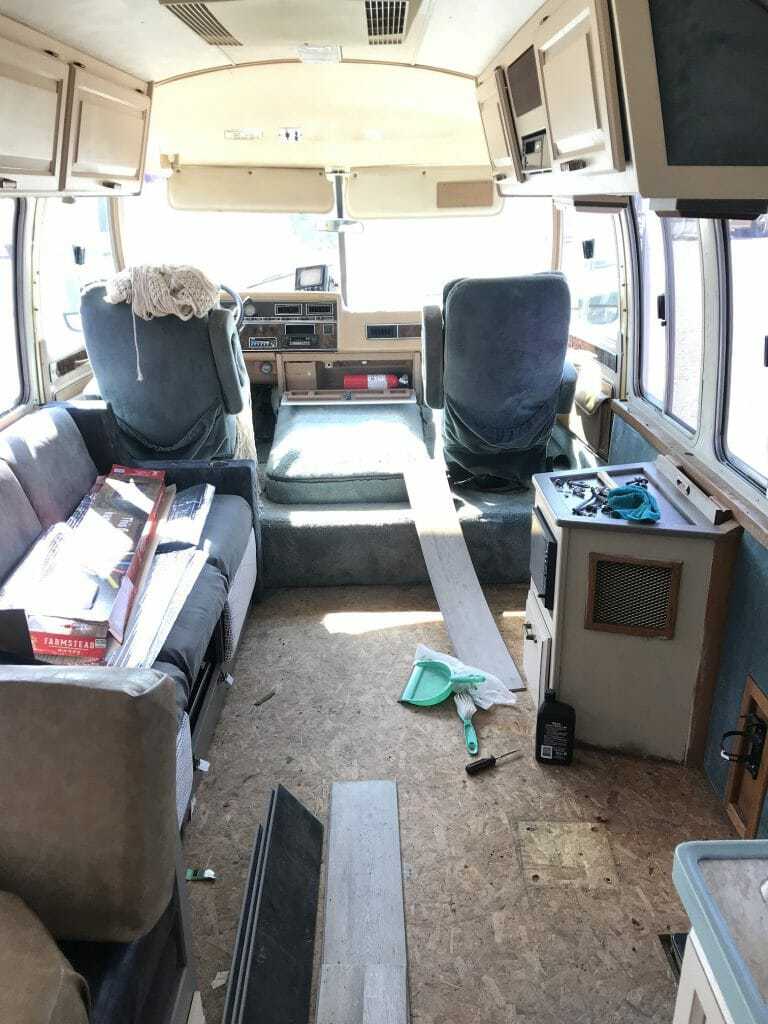
Carpet is even easier to pull up. This is our 1987 AIrstream 345 after we’d removed the carpet. To do this, I simply got at the edges and pulled it up with a crowbar. The carpet will be attached to wood strips with “tacks” sticking up from them, so you just have to separate the carpet from the tacks and pull it up. Once done, you can pry those wood strips up with a hammer.
Keep your underlayment if you can
Underlayment is the foam padding that goes underneath non-carpet flooring. If yours is in good shape, be sure to keep it for your new flooring install. This will save you cash and you won’t have to cut new foam to fit.
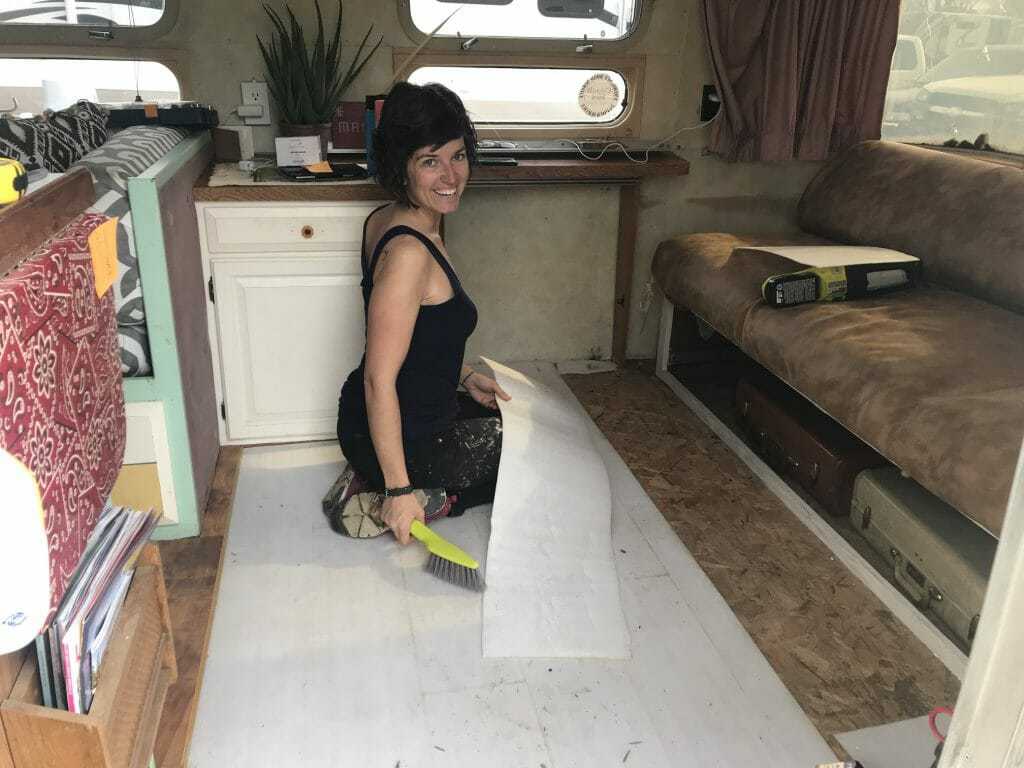
My wife and I reused the old underlayment (the white part you see) when we put in our new flooring. As long as yours is in good shape, you should do the same because it’s already cut and ready for the new floor.
Check your subfloor for damage
Your subfloor is the plywood underneath your flooring and underlayment. Once you have all your flooring pulled, you should heavily inspect your subfloor for any damage. Be sure to repair or replace any damaged parts before laying down new flooring. Check out this article on sub-floor repair for help.
Pick your flooring type
While there are some exotic RV flooring options out there, I’d steer clear of anything but laminate or vinyl flooring because they are made to handle the abuse of the road. “Normal” wood or tile flooring is simply not designed to take the constant movement of your RV.
Whether you choose laminate or vinyl flooring, you’ll be able to pick it up at any flooring or home improvement store. The best flooring store I’ve found is Floor and Decor because floors are all they do and they offer free DIY flooring classes. They will also help you figure out the exact amount of new flooring you’ll need.
Ultimately, your decision between vinyl or laminate flooring will depend on which style you like better as you shop. Laminate tends to be thicker and harder to cut, but often looks more “real”.
That said, I most recently laid down a vinyl floor because I loved the way it looked and how easy it was to cut:
This vinyl flooring was super easy to cut and we didn’t even have to put down underlayment! I wound up liking the look of it better than the laminate flooring I laid in my other RV.
These are the tools you’ll need to DIY a new floor in your RV
-Measuring tape
-Pencil & paper
How to install your new flooring
Your flooring will be some version of “pop and lock” flooring, meaning that it will actually lock into itself – no nailing, stapling, or glueing required. Your flooring installation kit will be your best friend as you work because it has all the tools you need to lock the flooring into place.
Start by watching this video – it’ll get you all the basics you need to install your first floor:
This video will give you more advanced tips to DIY a new floor in your RV:
Here are the key tips to bear in mind as you install:
Always leave a ¼ inch gap around the outer edges of the floor – This is because your floor will expand with temperature changes and move as you drive. If you don’t leave this gap, your floor will have nowhere to expand, resulting in buckling and cracking. Your flooring installation kit will come with spacers for this exact purpose.
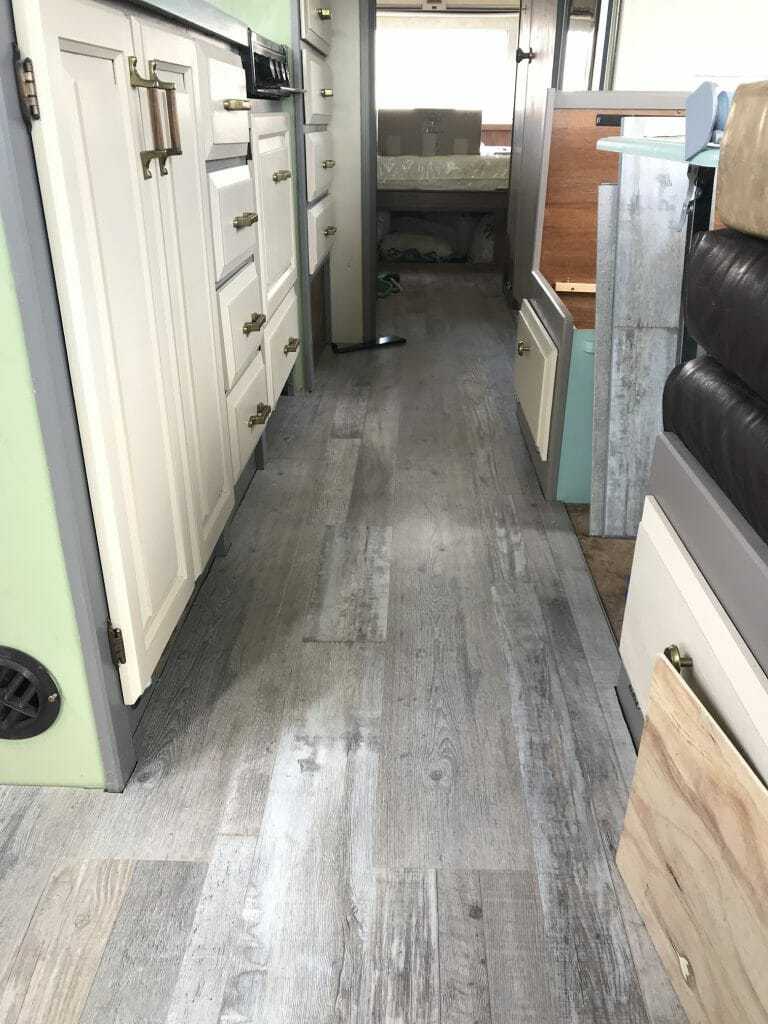
Stagger your seams – Once you get rolling, it will be tempting to lay down full pieces of flooring without cutting them. If you do this, you’ll wind up with a lot of seams that line up to each other. This isn’t visually appealing, so you need to work in a pattern of staggering your flooring planks:
Be sure to stagger the seams of your floor planks so they don’t line up. You can see in this picture how staggered seams create variety and a more authentic look.
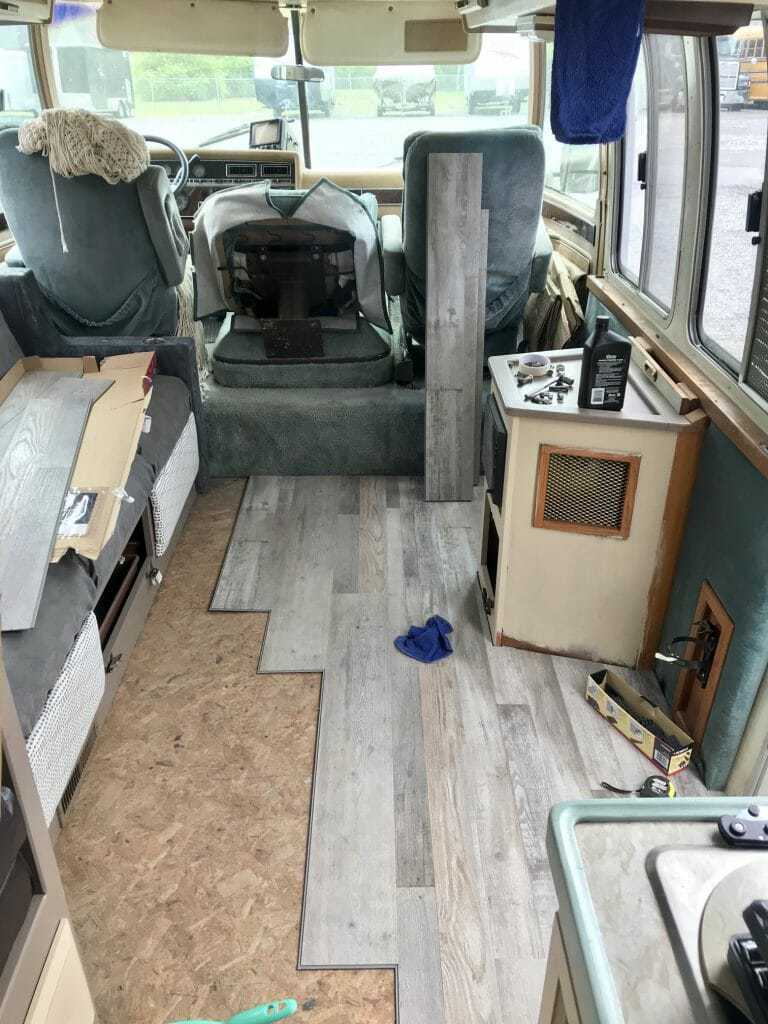
Cutting around stuff will be your most difficult task – Flooring is relatively easy to lay down until you have to cut around furniture, appliances, or other obstructions. The videos I shared above will show you how to do this, but don’t get discouraged if you have a bit of trial-and-error here. My wife and I had several planks that we had to recut due to bad measuring. Be sure to order some extra flooring for these inevitable errors and you’ll get on fine.
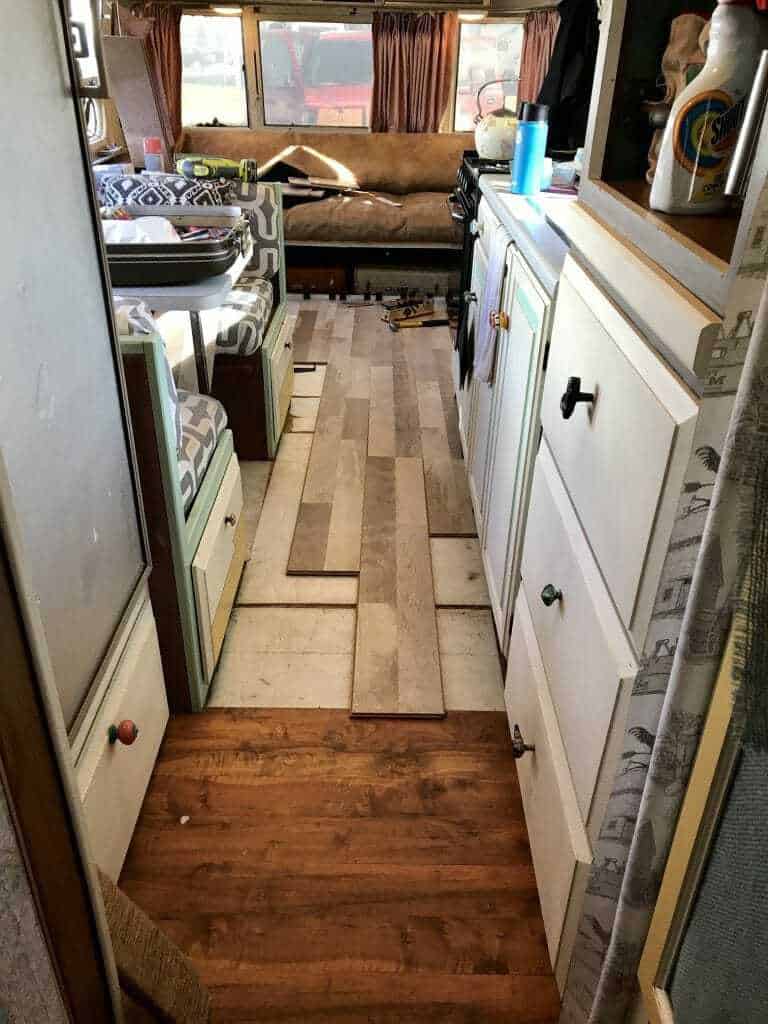
Those planks in the middle went down super easily. The ones along edges involve cuts which can be tricky. Keep at it and after cutting a few planks to fit, you’ll get the hang of it!
Covering the ¼ inch gap
Once you have your flooring down, you’ll have to contend with the ¼ inch gap you left for expansion along the outer edges. You’ve got two main options here: finish trim or caulk.
The most common type of finish trim is “quarter round”, a small rounded piece of trim that can cover the gap. In our case, this type of trim looked too big in our RV so we purchased thin window trim and used it to trim over the gaps.
Alternatively, you can use a colored flooring caulk to fill in the gaps. I used flooring caulk to DIY a new floor in one of my campers and it worked quite well. Be aware that you’ll need a substantial amount of caulk to make this look good. This post will walk you through the caulking process.
Once you’ve covered the ¼ inch gap, your work will be done! DIY’ing a new floor in your RV is a fun and affordable project that will make your rig shine like new.
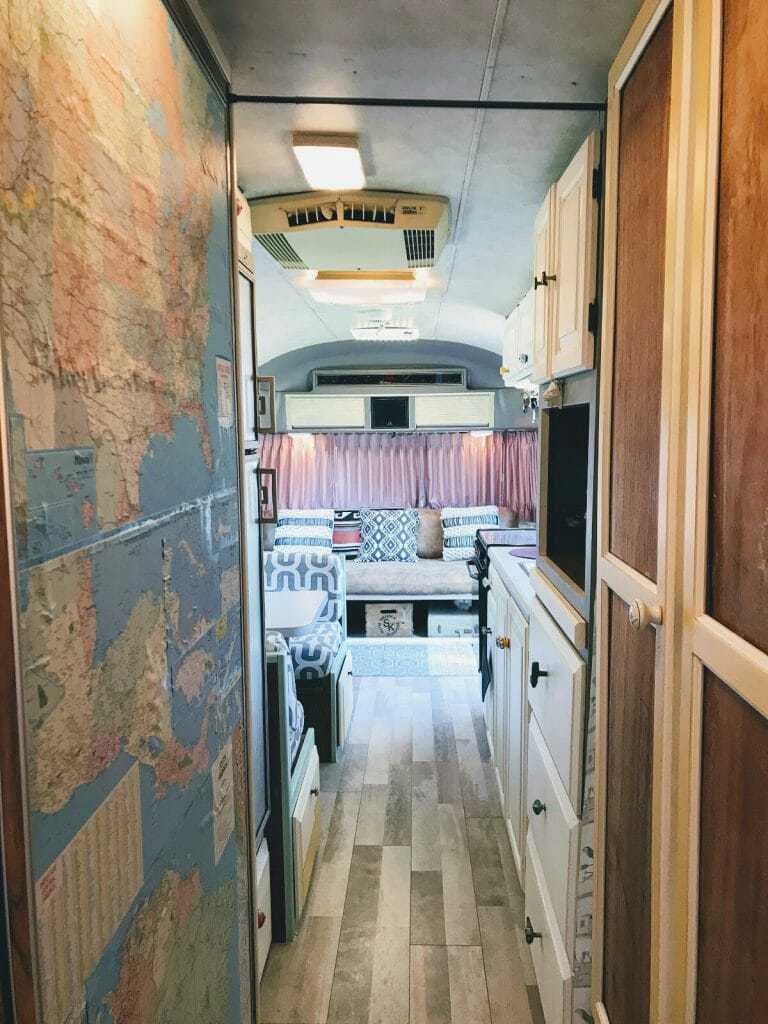
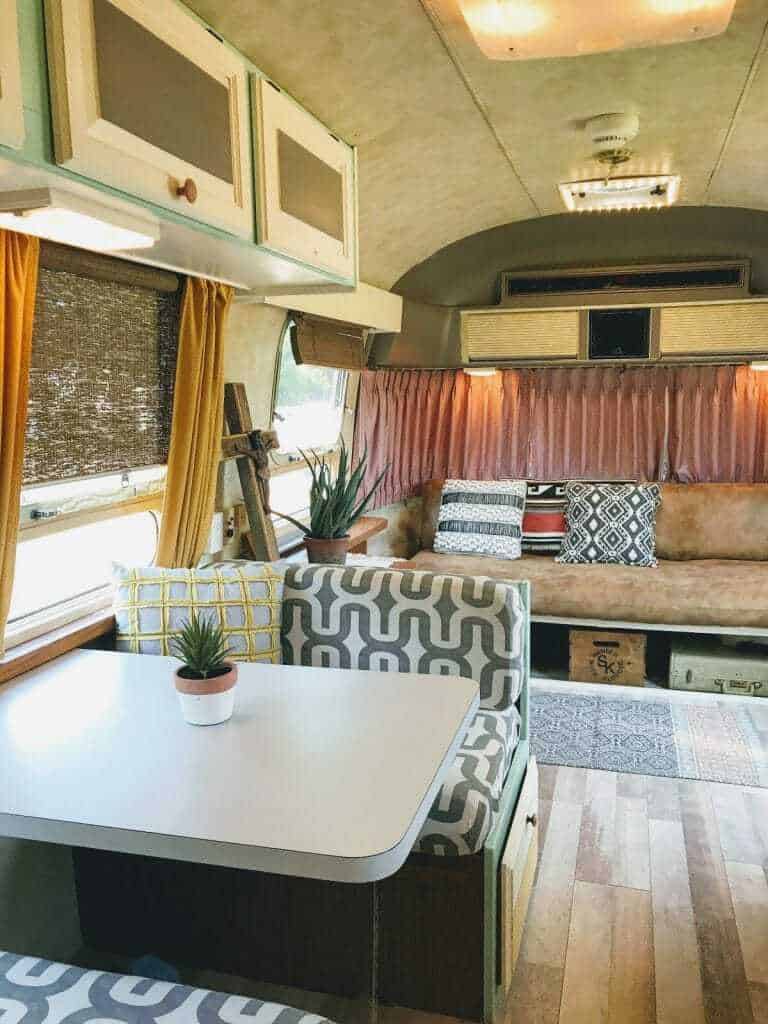
The finished product! For less than $700 we will be able to enjoy our new RV floor for years to come.

Jill Miller is the founder of Your RV Lifestyle. Trading corporate America for the open road, Jill, along with her partner Jose, began their RV journey, making an unconventional start by wintering in New Jersey. A natural adventurer, she was motivated by a desire to explore the USA and beyond, embracing the varied landscapes, communities, and cultures across the country.
For Jill, the allure of RV living was not about material accumulation, but rather the pursuit of an adventurous, fulfilling lifestyle. A lover of golf, bicycling, hiking, and line dancing, she has carried her passions across the country, engaging with them in diverse settings. Jill’s commitment to the RV lifestyle came after years of careful research, numerous consultations with RV owners, and personal trials, including living in a rental RV.
