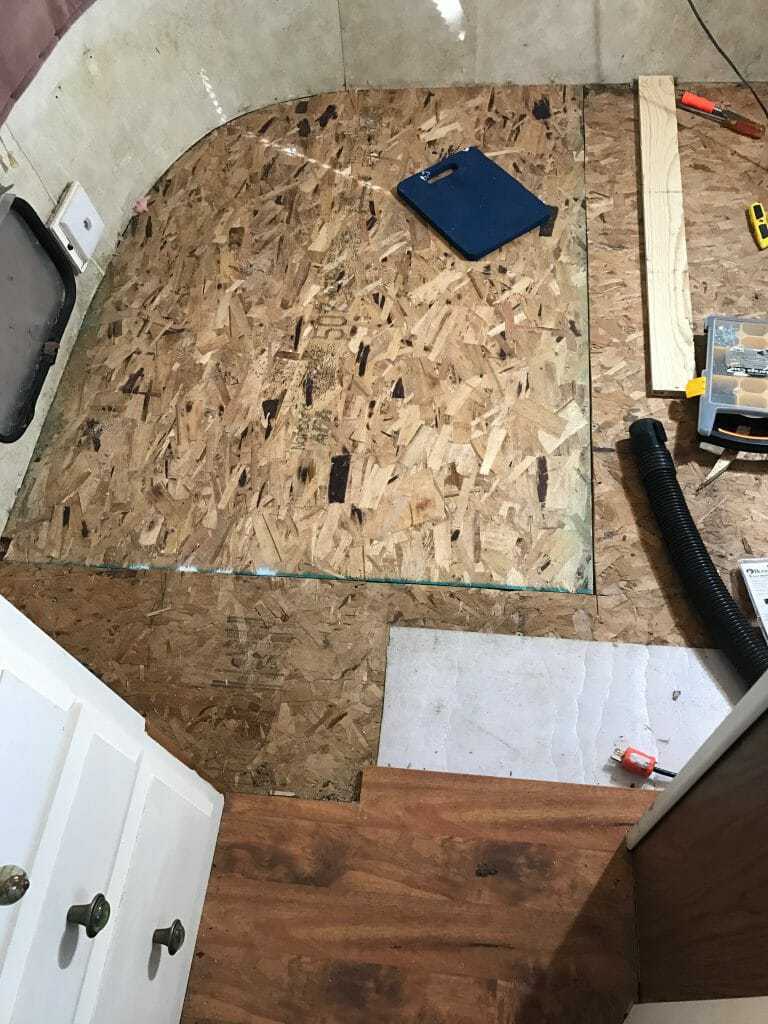
Few things in RV life are more terror inducing than discovering a ‘soft spot’ in your camper’s floor. These mushy sections of floor can mean only one thing – you’ve got a water damaged sub-floor.
As the name implies, your sub-floor is the flooring that sits underneath the floor you have on top (e.g. carpet, vinyl, laminate, etc.). It is generally made of ¾ inch plywood, which is quite strong until water is allowed to sit on it. If you have even a small water leak that goes unnoticed for a long time, it can cause serious damage to your sub-floor.
Such was the situation my wife and I found ourselves in one balmy February day… We’d been full-time RV’ers for more than a year when we made the heartbreaking discovery that the subfloor under our bed had been rotting out for about as long as we were on the road.
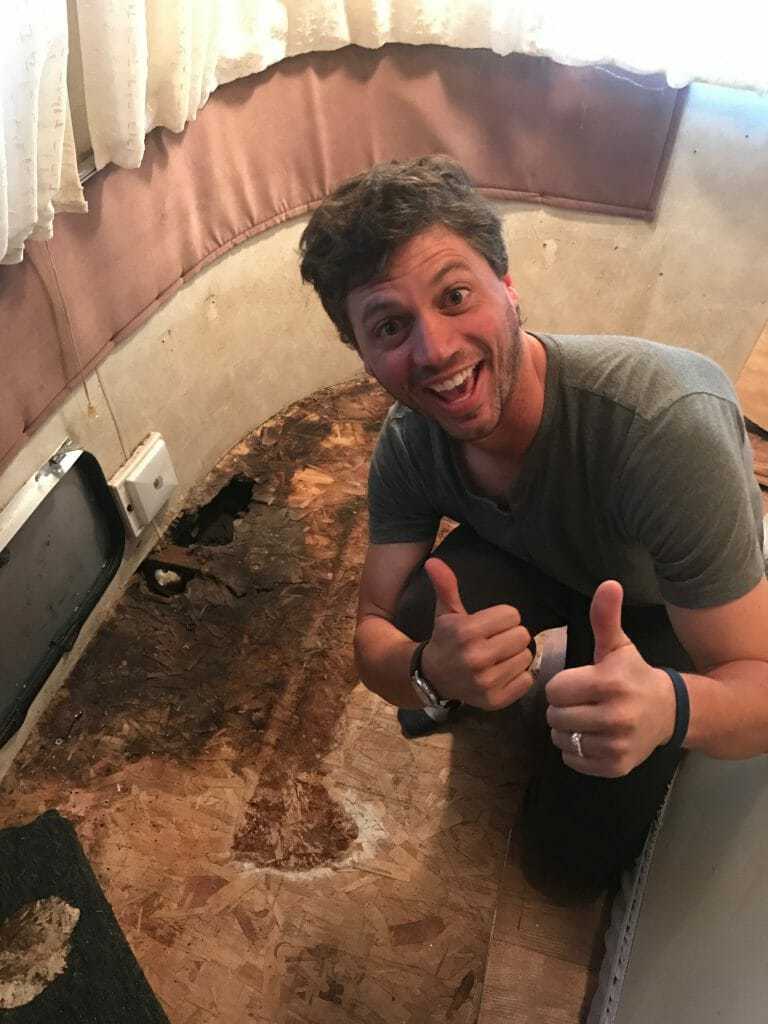
As my wife will tell you, I’m a bit of a goofball… this is a picture she took after we found the leak and removed our bedframe. I’m smiling on the outside, but breaking on the inside…
The storage door you see in the above picture had a seal go bad. Because that whole storage area was completely covered by our bed, we rarely looked there. As a result, small amounts of water were allowed to leak in for a long time and cause significant damage. When we brought our damaged sub-floor to local RV shops, they wanted $3,000+ to fix it.
We knew there had to be a better way…what follows is the step-by-step repair process that we followed to fix our water damaged sub-floor.
You’ve got a water damaged sub-floor – is it MINOR or MAJOR damage?
This it your first and most important question because you need to decide if you’re going to fix this with a band-aid or surgery. Here’s how I define this:
>Minor damage = Minimal water has leaked onto your sub-floor and you’ve caught the leak within 3 months of it starting. As a result, your sub-floor is still very firm to the touch and any softness to the floor should be superficial.
Another common culprit of minor damage is a large leak that you catch right away (e.g. a pipe bursts but you shut the water off fast). I classify this as minor because there are ways we can get that water dried up and prevent further damage.
Lastly, if your sub-floor is weak but not wet it could be from an old leak.
>Major damage = Major damage happens when water is allowed to sit on a sub-floor for a long period of time. When left unattended, this will cause your subfloor to get mushy and eventually cave in. That’s when sub-floor surgery becomes your only option.
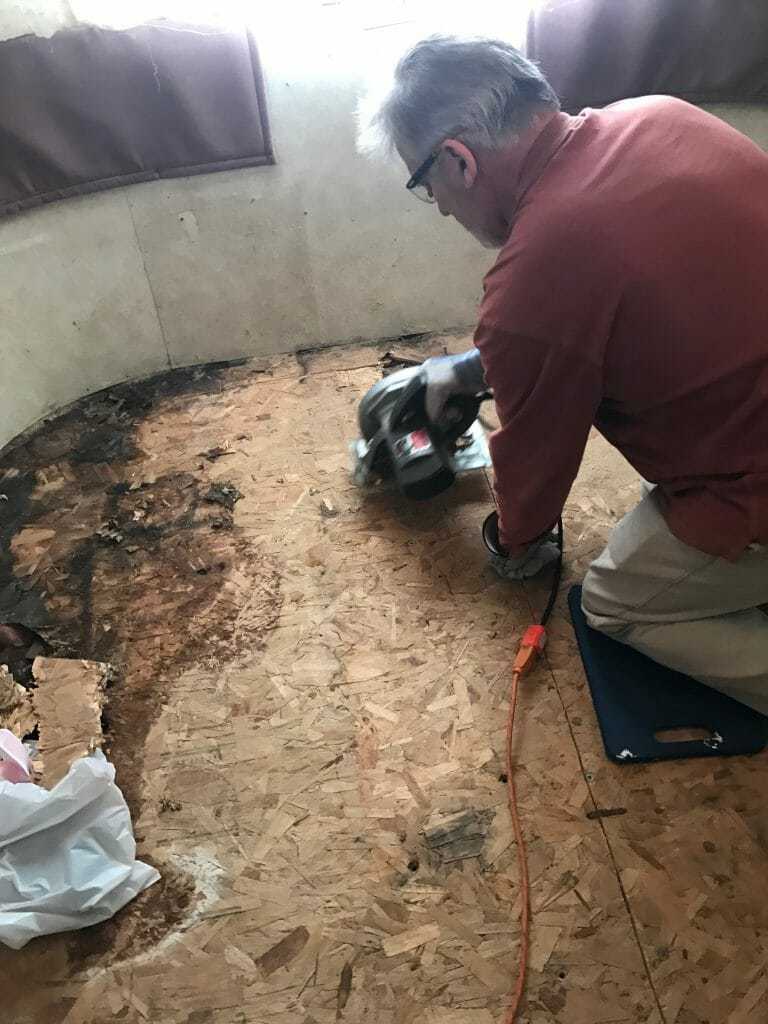
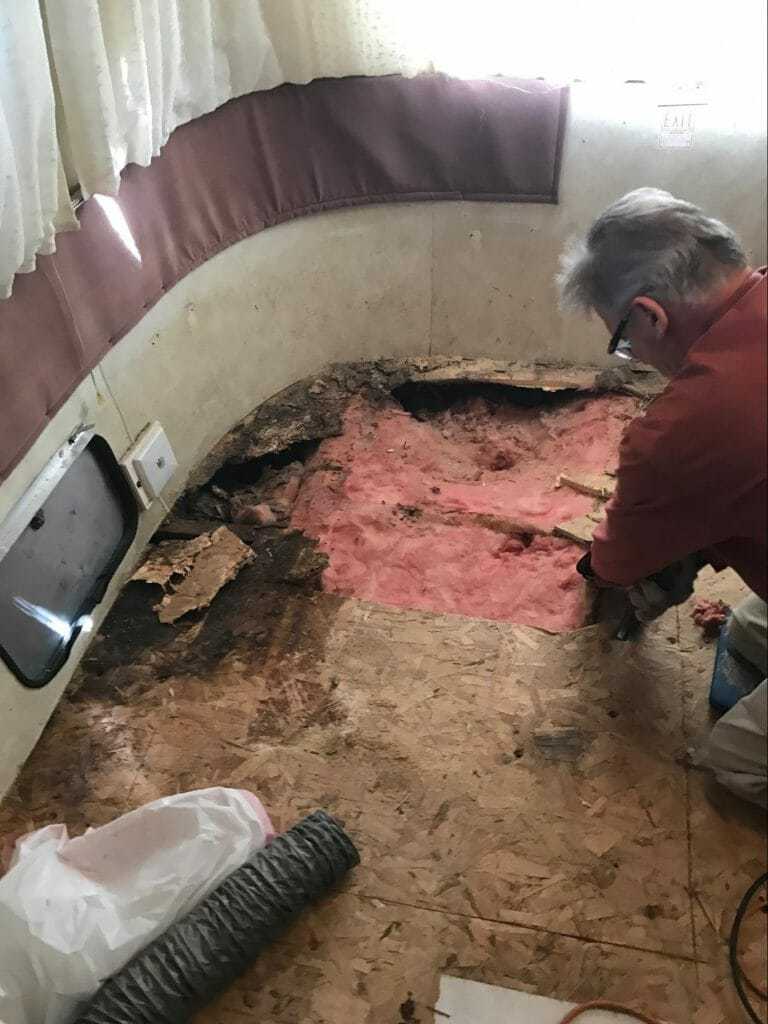
You can see how the floor is rotting out in the corner. That’s my Dad helping me prepare to fix our floor by removing the damaged section.
I have minor damage. How do I fix it?
- Be sure you know the extent of the leak – Water is a pesky animal. It’ll creep under your cabinets, dressers, refrigerator, and wherever else it can hide. You need to be sure where your sub-floor damage begins and ends in order to fix it properly.
- STOP the leak – This should go without saying, but you need to be certain of what’s causing the leak and put a stop to it.
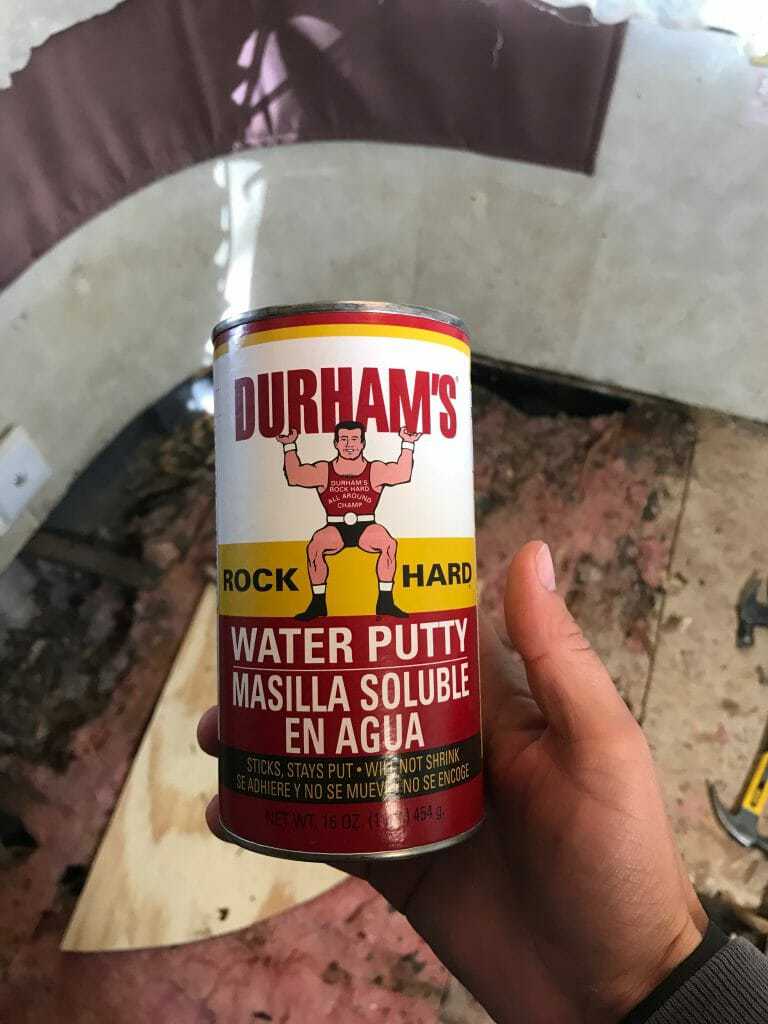
- Heal your floor – In the case of minor subfloor damage, you can simply use a flooring putty to repair the damage. The putty will serve to re-level your floor and strengthen the affected area. I recommend Donald Durham’s Rockhard Water Putty.
My floor had major damage, but if yours is minor you can just use a putty like this to fix it. If your damage is major, this putty will still come in handy later to fill in gaps.
I have major damage. How do I fix it?
When dealing with major damage, your only option is surgery. You will have to cut out the damaged piece of floor and replace it with new. While this may sound daunting, it is doable with the proper tools and knowledge.
NOTE: if you find that more than 15-20% of your subfloor has major damage, you should seek the help of a qualified RV repair shop. This is because damage to that extent can impact the structural integrity of your camper. In most cases, however, the damage will be less and you’ll be able to do this yourself.
These are the tools you’ll need to fix a water damaged sub-floor:
-A circular saw
-A power drill
-A jigsaw
-A tape measure
-A pencil
-Flooring screws
Here are the steps to fix major damage to your sub-floor:
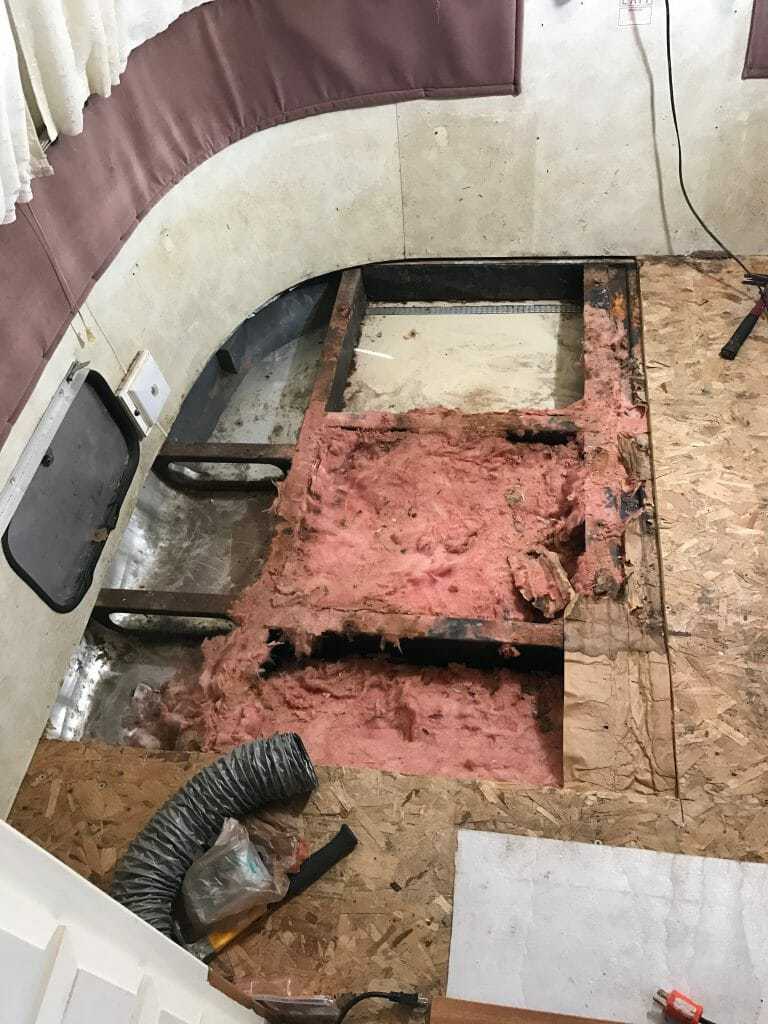
- Find the floor joists closest to the damaged area – Before you cut out the bad flooring, you need to be sure you’ve got something to fasten the new flooring into. Your sub-floor will generally be screwed into floor joists which will be either metal rails or wooden beams. By looking at your subfloor closely, you should be able to see where it’s been screwed into the floor joists.
Those beams running across are floor joists. Note that we cut out a larger piece of damaged sub-floor so that we could screw the new piece into the floor joists. Be sure to do this as well or you won’t have anything to screw the new sub-floor into.
- Mark off a square area just to the outside of the damaged area of your floor – It is very important that you draw a square that will allow you to screw the new piece into the floor joists.
- Unscrew the sub-floor in the area you’ll be cutting – The damaged sub-floor will still be screwed into the floor joists so you’ll need to find and remove all those screws before you cut.
- Set your circular saw to the depth of your sub-floor – Depending on what type of camper you have, your sub-floor will vary in thickness. Generally it will be either ½ or ¾ inch thick. If you have a section of sub-floor that has rotted through, you’ll be able to measure just how thick your sub-floor is. If not, you’ll have to set your circular saw to a shallow depth and saw a very small area until you get to the bottom of your sub-floor.
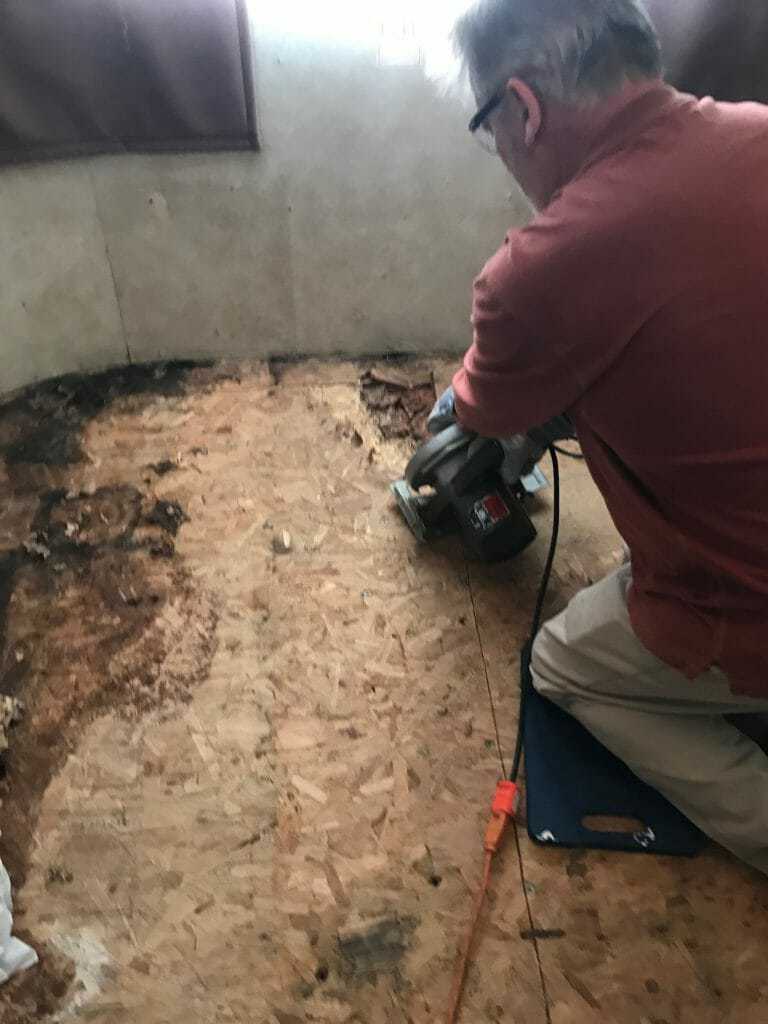
Once you clear out some of the sub-floor you can easily measure the depth. From there, you just set the depth of your circular saw to match and carefully saw away – as you can see my Dad doing here.
Cut the sub-floor out carefully – Now that you’ve got the saw’s depth set, cut out the square piece following the line you drew.
Clear out the old sub-floor – If you’re lucky, this will pop up easily. Otherwise, you’ll need to take some time with your hammer and pry up+clear out any chunks of damaged sub-floor that remain. Be sure to use a shop vac to clean up after.
Replace damaged insulation – There will most likely be insulation under your sub-floor. In my case, the water had gotten in and damaged it as well. You’ll simply want to tear out the old and replace with standard fiberglass insulation.
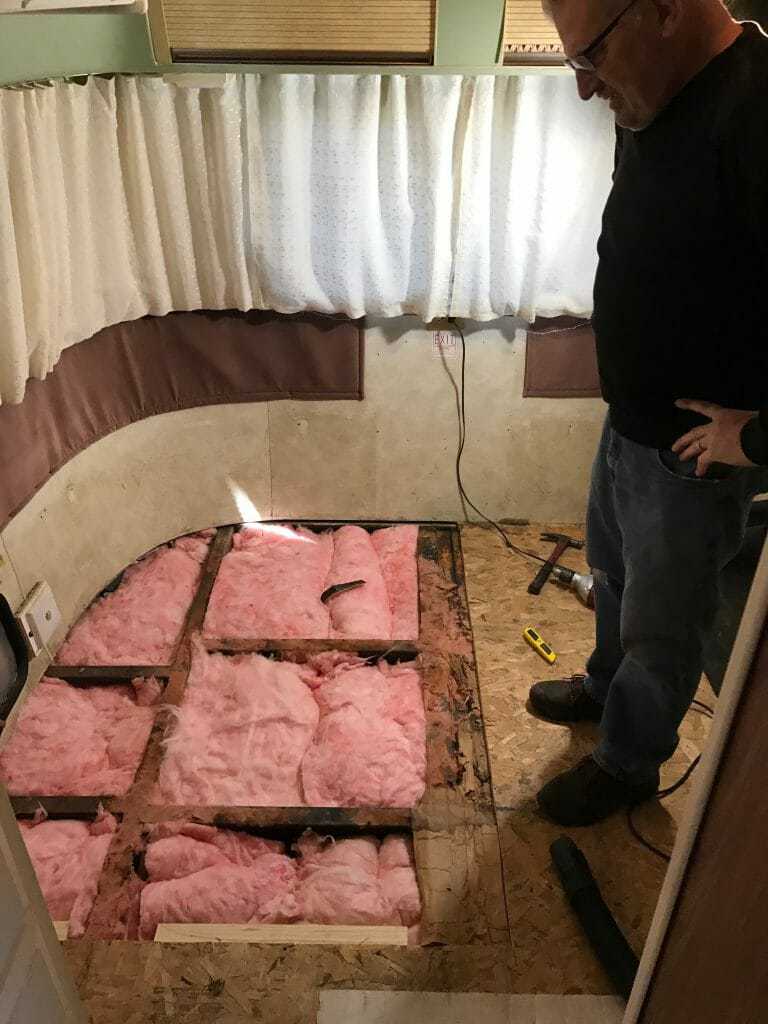
While you’ve got the sub-floor up, take the chance to replace any damaged insulation.
Cut a new piece of sub-floor to fit the hole you sawed – You can find sub-floor at any home renovation store. Just be sure to find sub-floor that is the same thickness and material as your old. Once you have that, you’ll simply need to cut it to match the dimensions of the damaged sub-floor you sawed out.
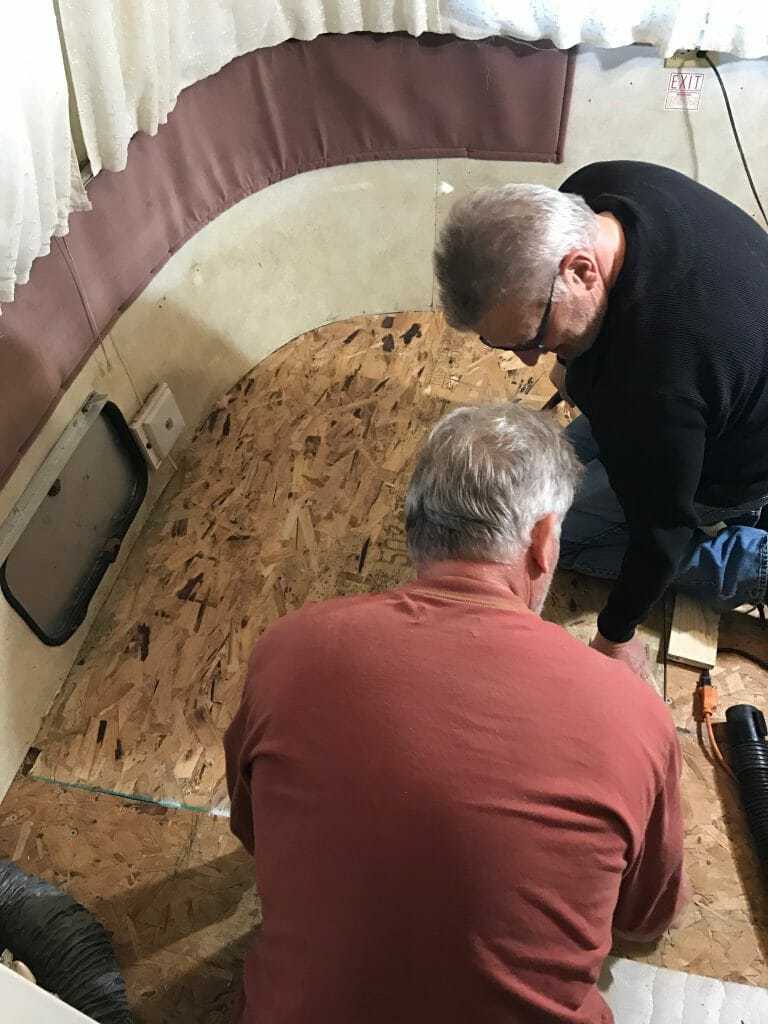
Putting down the new piece of sub-floor. I have an Airstream so we had to make a cut to follow the curve of our camper – not fun! You’ll most likely have a square cut which will make it much easier 🙂
Fasten the new piece of sub-floor – Use your drill and flooring screws to secure the new piece of sub-floor to the floor joists.
Seal the seam – Because you cut out old and pieced in new, you’ll create a new seam where the new piece of sub-floor meets the old. Use Donald Durham’s Rockhard Water Putty to fill in the gaps.
How to prevent future water damage to your sub-floor
Now that you’ve fixed the problem, you definitely don’t want a repeat. Here are the steps to keep this from happening again:
- Replace seals for outer doors – My Airstream has outer storage doors that lead to the inside. Had I replaced those seals in a timely fashion my sub-floor would never have gotten damaged.
- Regularly check hard-to-see places for leaks – Water leaks like to happen under sinks, showers, beds, and other areas you can’t see. Camper ceiling leaks are also a big concern. Do a visual check of these areas every 3-6 months to catch and fix water issues early.
- Pressure test your water lines – Even a small water leak can be found with a good pressure test. Check out this great video from FMCA to learn a great DIY process.
Discovering a water damaged sub-floor may be a terrifying experience, but the steps above are a proven method for fixing and preventing this issue. Doing it yourself is a strategy that will save you some serious money.
Finished product! Now we only need to put some putty in to cover up those seams and we’re good to go!

Jill Miller is the founder of Your RV Lifestyle. Trading corporate America for the open road, Jill, along with her partner Jose, began their RV journey, making an unconventional start by wintering in New Jersey. A natural adventurer, she was motivated by a desire to explore the USA and beyond, embracing the varied landscapes, communities, and cultures across the country.
For Jill, the allure of RV living was not about material accumulation, but rather the pursuit of an adventurous, fulfilling lifestyle. A lover of golf, bicycling, hiking, and line dancing, she has carried her passions across the country, engaging with them in diverse settings. Jill’s commitment to the RV lifestyle came after years of careful research, numerous consultations with RV owners, and personal trials, including living in a rental RV.
